This is a recipe that is focused on simplicity and allowing the flavors of the meat to come through and be the focus. Its also a recipe that isn’t focused on the process but instead showing how understanding the end result and how to use multiple processes to achieve a very similar results. The two processes I used was a slow roasted grilled prime rib and then a sous vide and then seared prime rib.
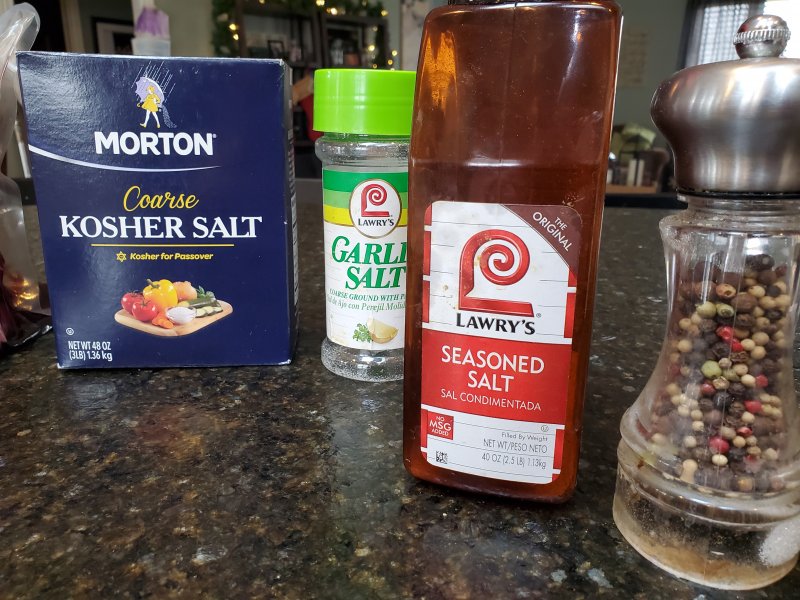
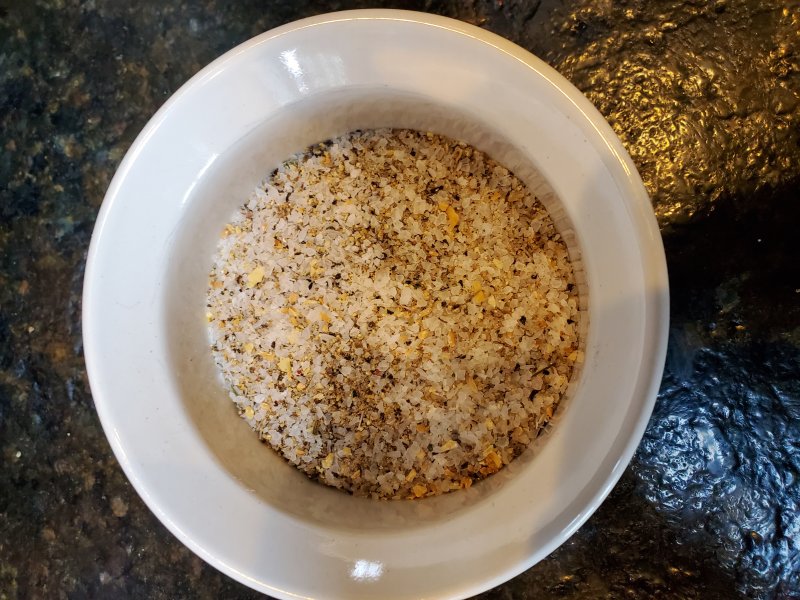
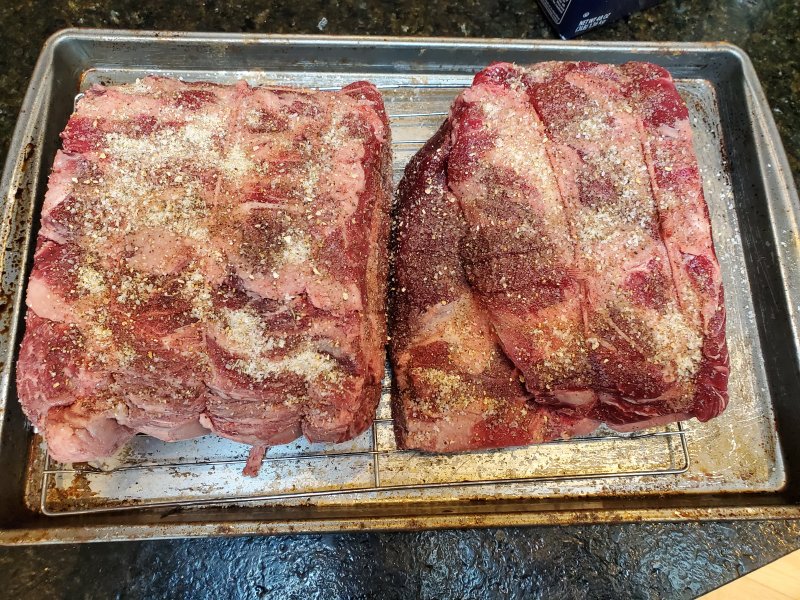
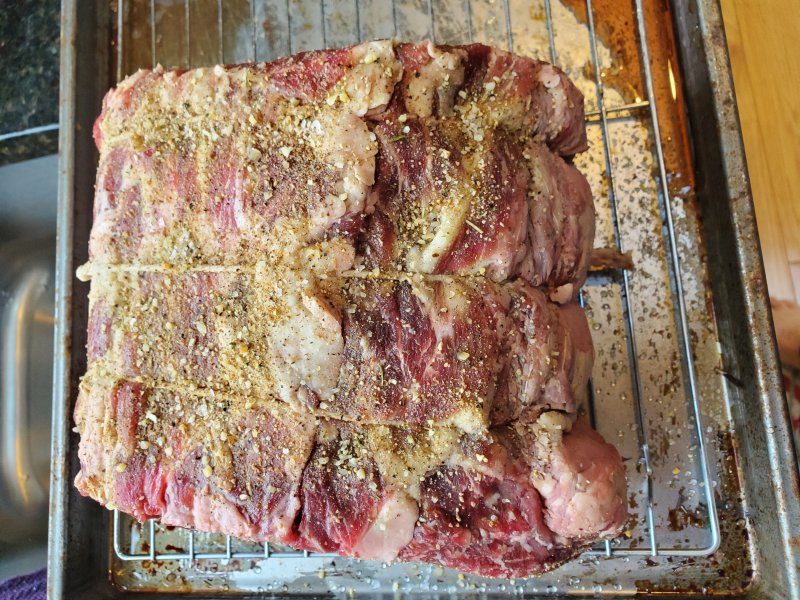
I first took two of our beautiful aged prime rib roasts (the same ones we offered this winter for the holidays). They were deboned and then the bones were tied to the meat with butchers twine. I left this on during the cooking process. I prefer to dry brine which is a heavy application of (primarily) salt and other seasonings for a few days to allow them to penetrate the meat, change the protein structures and allow them to hold on to more moisture during the cooking process. I also used my “basic” beef mixture of kosher salt, garlic salt, seasoning salt and pepper.
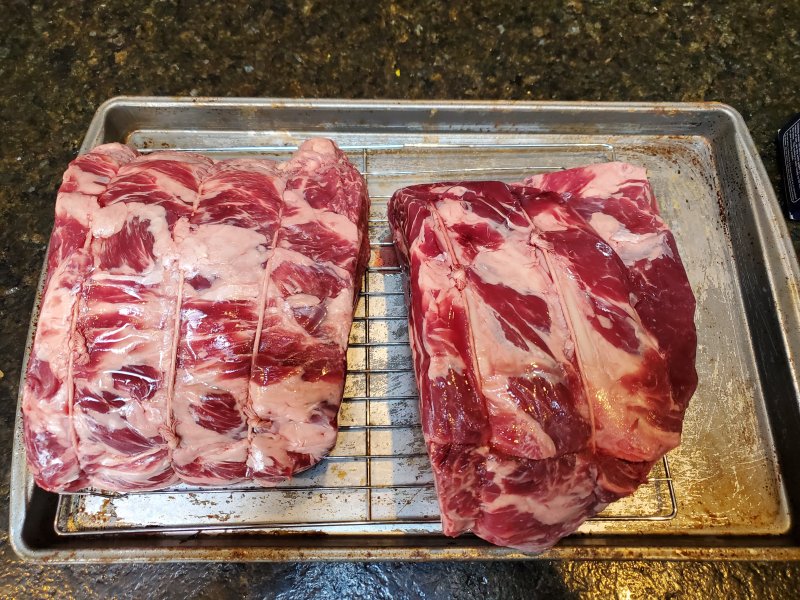
I find this mixture does not overpower the flavors of the beef but just enhances them. I placed the prime ribs on a cooling rack and then on a cookie sheet to collect any seasonings or liquids that are dropped. Then I heavily seasoned them.
This is the ONLY seasoning this large piece of meat will receive so be generous.
I then let them sit at refrigerator temps for 3 days.
Sous Vide Cooking Method:
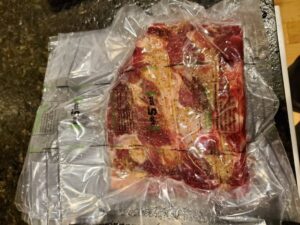 Then I removed one of them and placed it in a vacuum sealed bag.
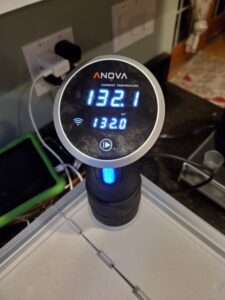 This prime rib roast then went into a Sous Vide water bath at 132 degrees.
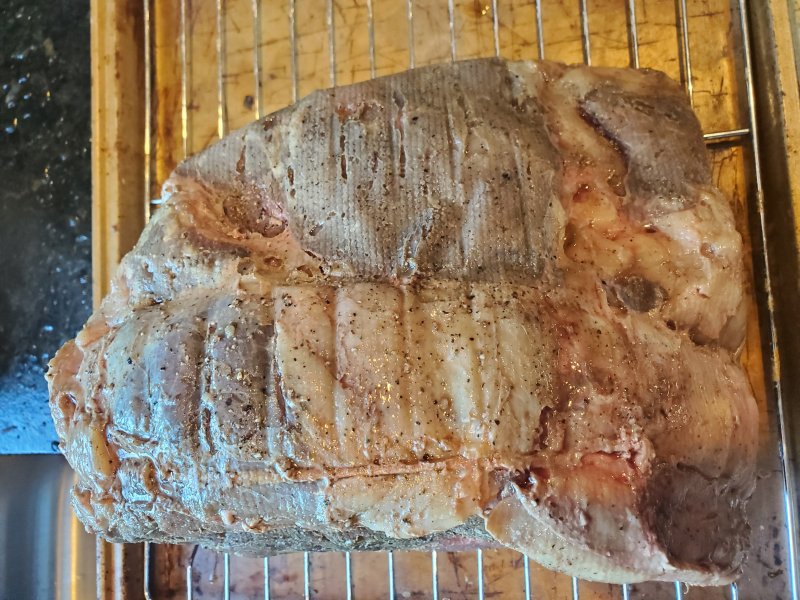
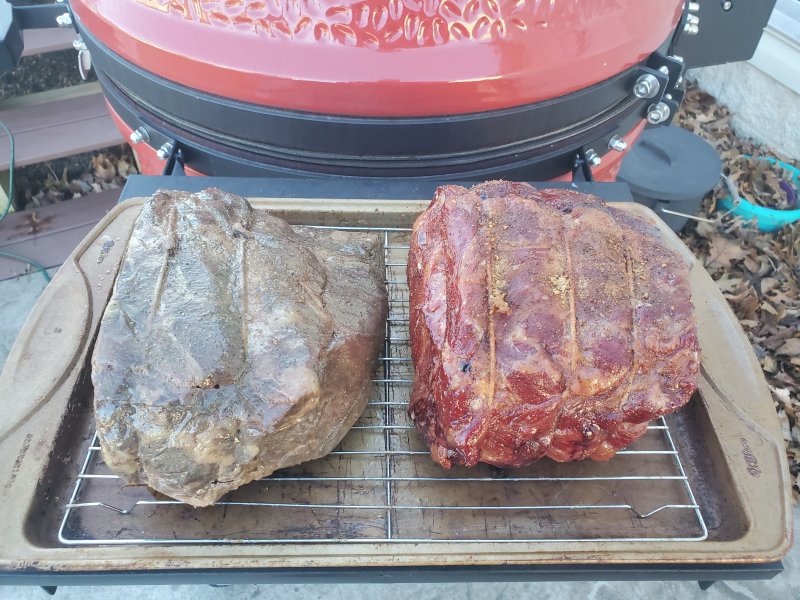
I chose that temperature because I wanted a medium rare finish to the prime rib. Sous vide cooking using a precisely controlled water temperature to cook whatever is placed into that water. You cannot over cook because it will only raise the temperature of the meat to the temperature of the water. However, there is a time component that is required to have the temperature go throughout the meat as well as you can use time and temperature to help breakdown connective tissue similarly to what happens in a braising but that’s a different recipe. I aimed for just over an hour for every inch of thickness for this prime rib. Once that time had been reached I removed the bag from the water bath and pulled out the prime rib. It honestly doesn’t look very appetizing at this point but it will so trust the method.
Then I dried it off using paper towels and then applied some high temperature oil, such as grapeseed to the outside.
Skip ahead to the Searing section.
Slow Roasting method:
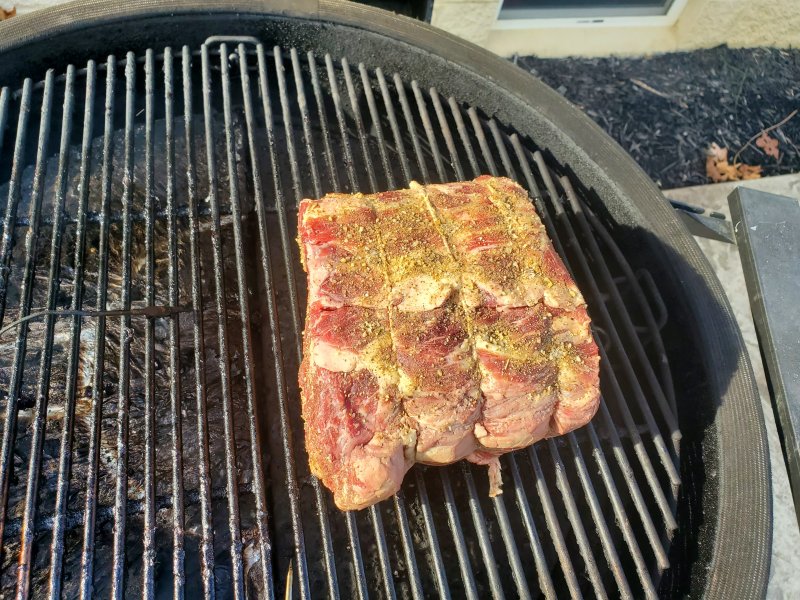
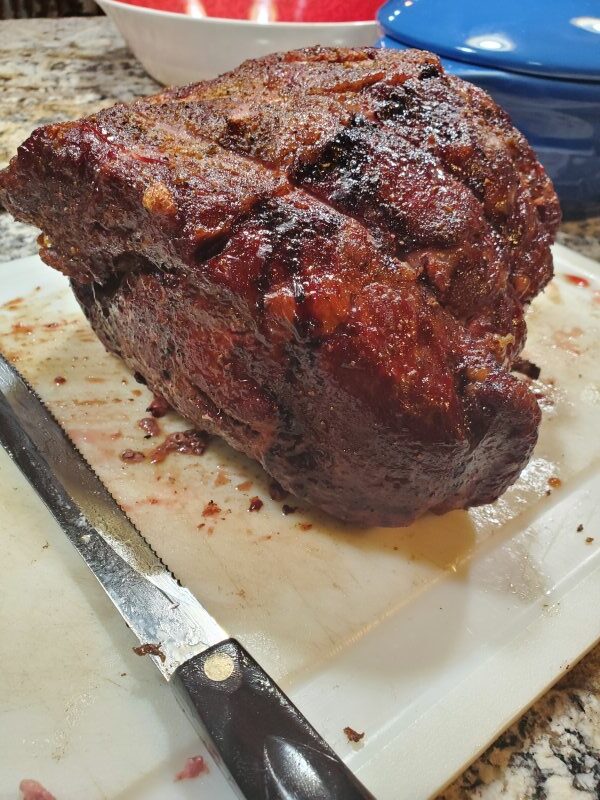
Then I got my grill started. I have a ceramic kamado style charcoal grill. You could use any other type of grill where you can accurately control the temperature, or even an oven to do the other style of prime rib. I brought my temperature up to 250 degrees and with indirect heat. Once it had come up to and stabilized at the temperature I placed the other prime rib on there and placed a temperature probe into the center of the roast so that I could monitor the temperature. (See picture.)
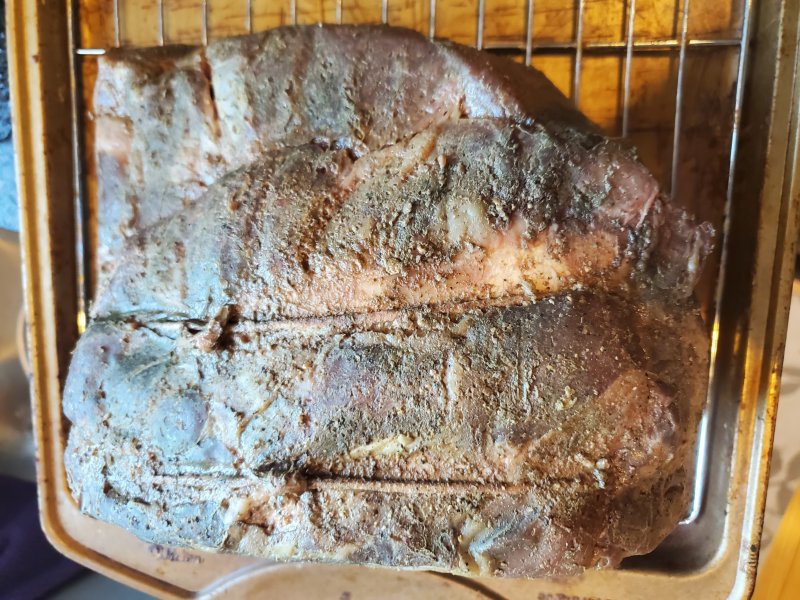
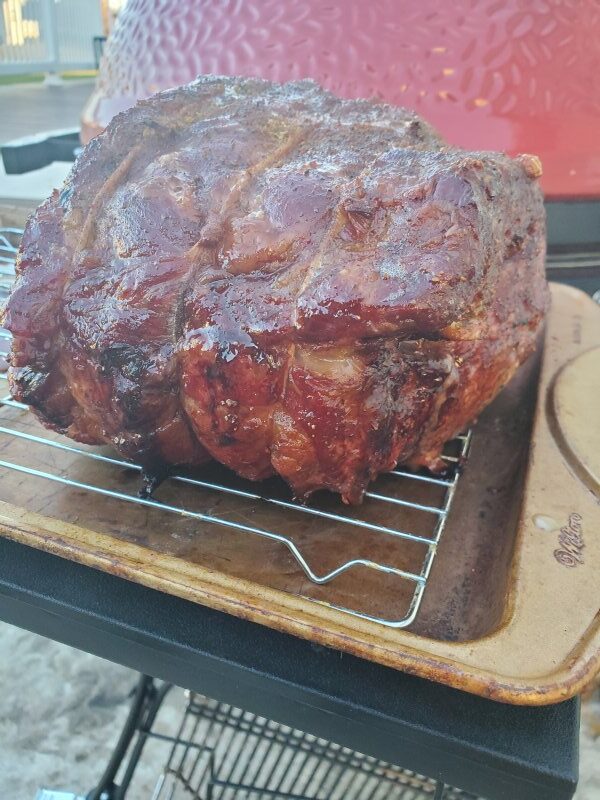
I let it slow roast (no peeking) until it reached an internal temperature of 126. I knew it would have some carryover cooking and once again was aiming for a medium rare finish. Once it reached that temperature I pulled it off and placed it on a cooling rack until the grill was ready for searing. It looks great but will look better so be patient.
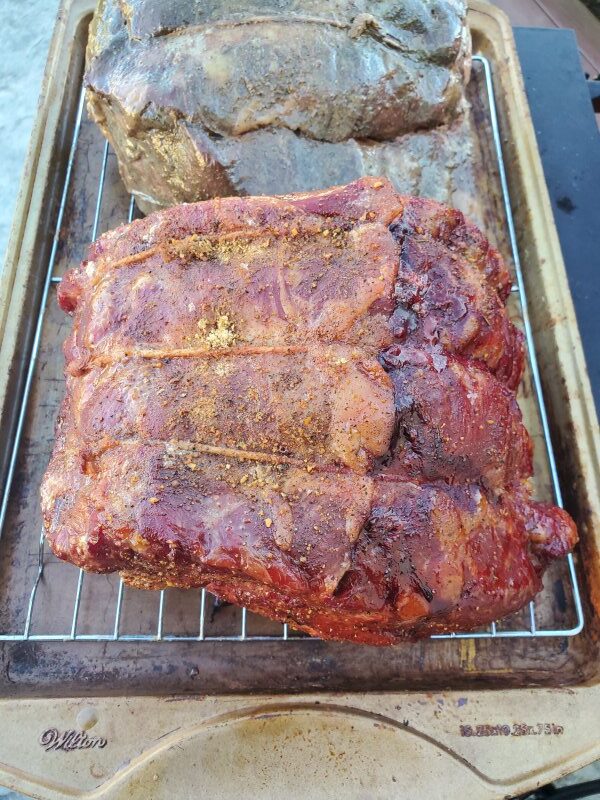
You can see both prime ribs waiting on a cooking rack while I got my grill up to temperature. You could once again us other grills, or even an oven or broiler for this. If the prime rib was small enough or you had a large enough cast iron stove-top would also be an option. A word of warning, if doing this inside it can generate some smoke so be prepared (or warned).
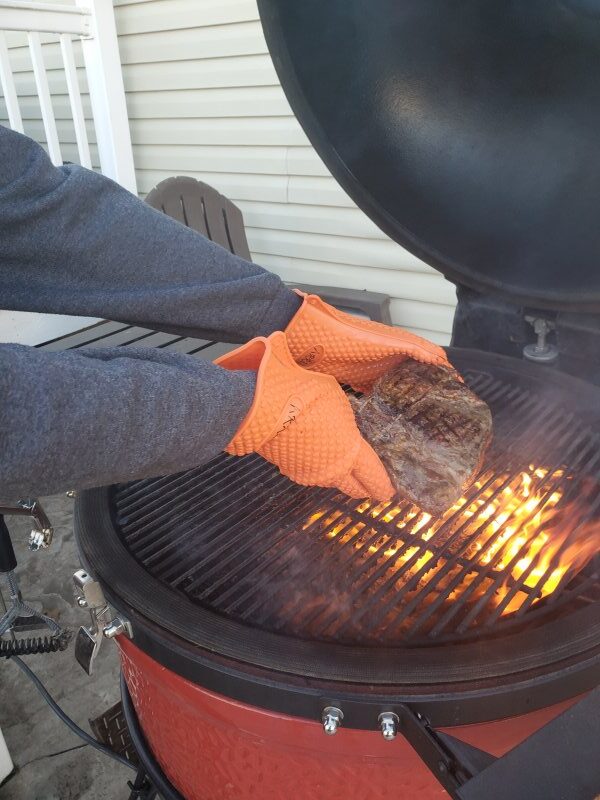
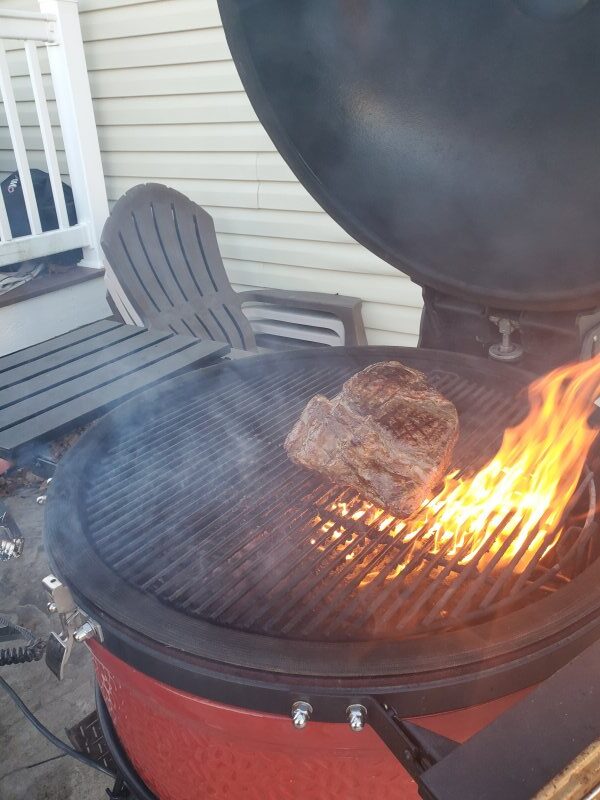
I brought my grill up to 400-450 degrees and direct heat. I used heatproof gloves and quickly seared all the surfaces of both of the prime ribs.
Then I wrapped them up in aluminum foil and let them rest until it was time to serve (approximately 20-40 minutes).
Slicing and serving:
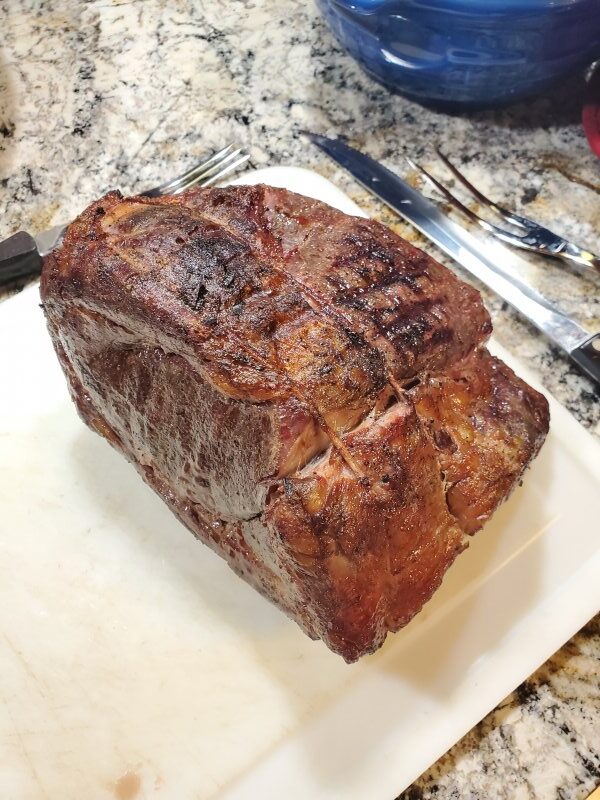
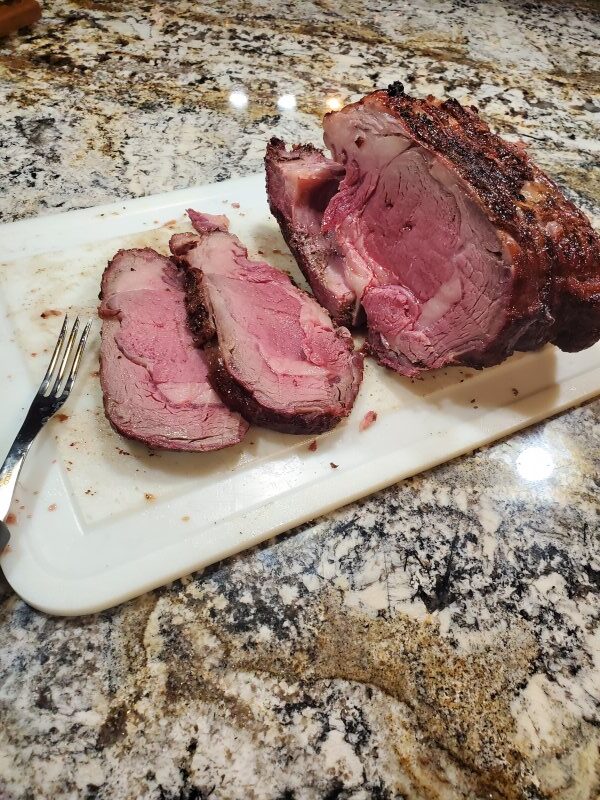
I unwrapped the prime rib roast from the aluminum foil and placed it on a cutting board. First up is the sous vide method prime rib. I removed the bones and saved them for a snack later.
Then came the slow roasted prime rib which underwent the same process.
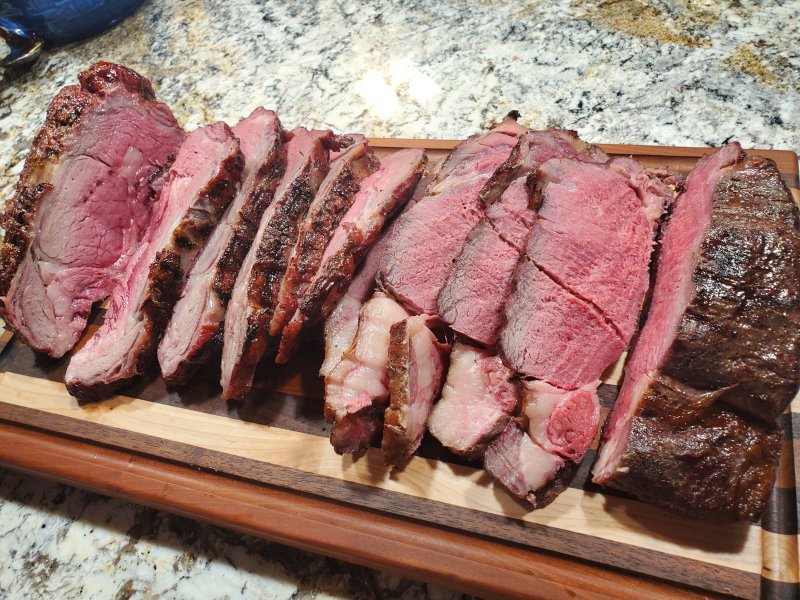
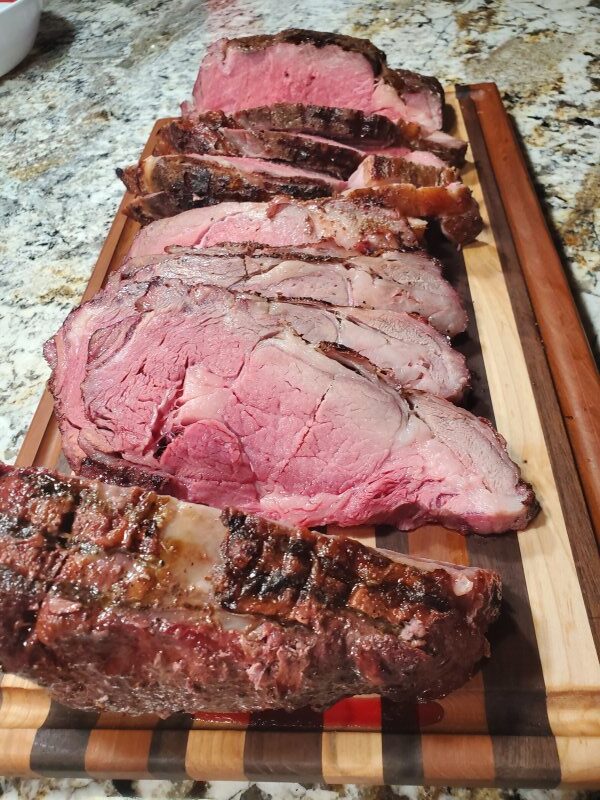
Then I placed them on the serving platter so we can compare them and get ready to eat.
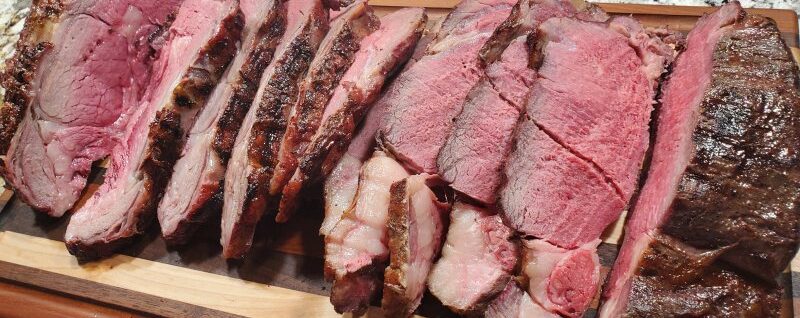
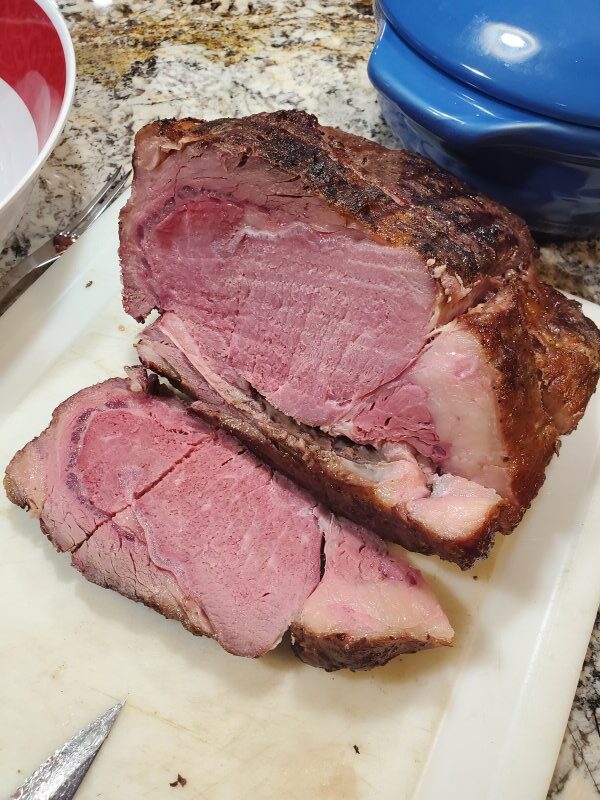
The slow roasted is on the left and the sous vide is on the right. The sous vide cooked prime rib did not have quite as nice of a crust as the slow roasted but if it was only in comparison, alone it looked beautiful. The texture and tastes were almost identical but with a slight hint of smoke flavor. As the pictures show the amount of medium rare goodness was very similar between the two methods.
They were served with au jus and horseradish sauce but that’s another recipe.

