419.651.2442

Twin Oak Farms News

Blog

Au Jus

To go along with the holiday prime rib that I went all out on.  I wanted to make a special au jus for a special occasion.

I started with oxtail, something that has lots of flavor in the bones, connective tissue and meat associated with it.  I seasoned this with salt and pepper.  Then I used some high temperature cooking oil (grapeseed was my choice) to sear all sides of the oxtail sections in my instant pot on saute.  Then I covered the with a quart of chicken stock and a package of mirepoix blend of vegetables. 


I then set my instant pot to high pressure for 90 minutes. 

Next, I opened up the instant pot and strained everything in the pot through a strainer. I saved what was left and picked out the bones for a very yummy vegetable soup later in the week. (pictures 7-9). 


I placed the liquid into a gravy separator and removed most of the fat. I placed the liquid into a saucepan, added the beef consommé and a pack of gelatin.  I then seasoned it to my taste and served it with the holiday prime rib. 

Left-over au jus made some great beef vegetable soup base or could be used for French onion soup. 

Prime Rib – A tale of two Roasts

This is a recipe that is focused on simplicity and allowing the flavors of the meat to come through and be the focus. Its also a recipe that isn’t focused on the process but instead showing how understanding the end result and how to use multiple processes to achieve a very similar results. The two processes I used was a slow roasted grilled prime rib and then a sous vide and then seared prime rib.

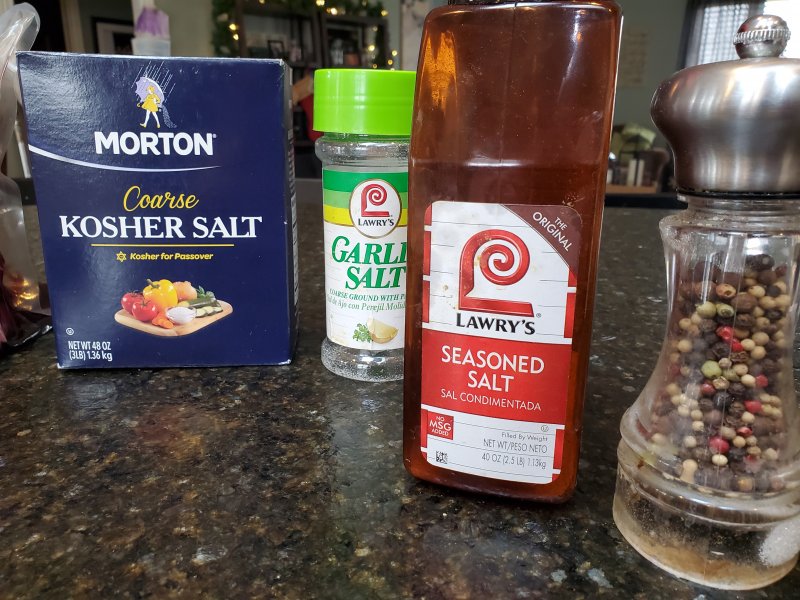
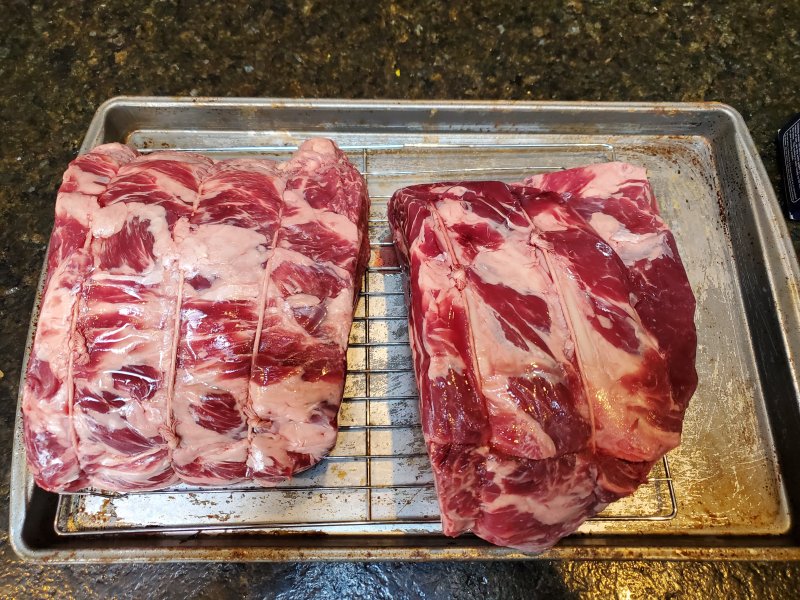
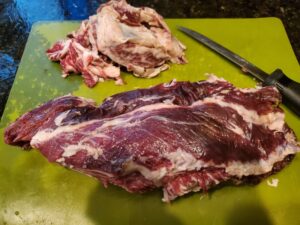
I first took two of our beautiful aged prime rib roasts (the same ones we offered this winter for the holidays). They were deboned and then the bones were tied to the meat with butchers twine. I left this on during the cooking process. I prefer to dry brine which is a heavy application of (primarily) salt and other seasonings for a few days to allow them to penetrate the meat, change the protein structures and allow them to hold on to more moisture during the cooking process. I also used my “basic” beef mixture of kosher salt, garlic salt, seasoning salt and pepper.

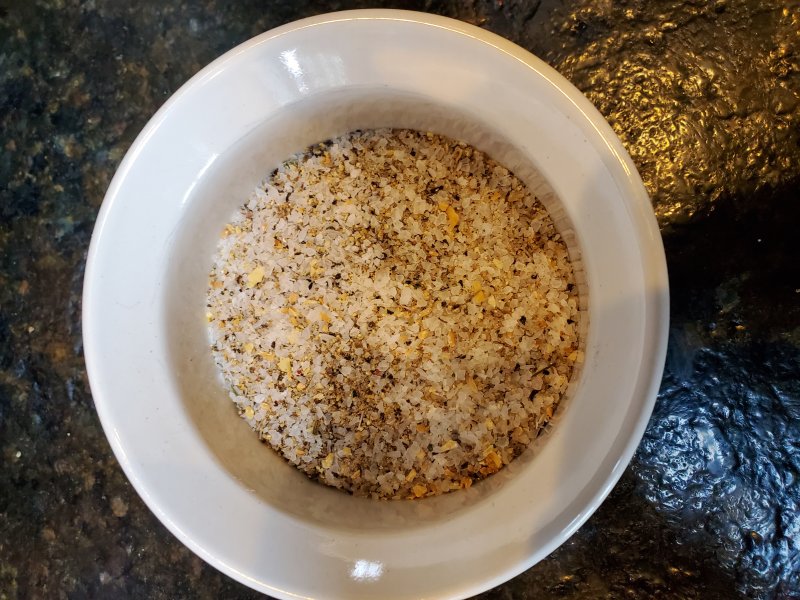
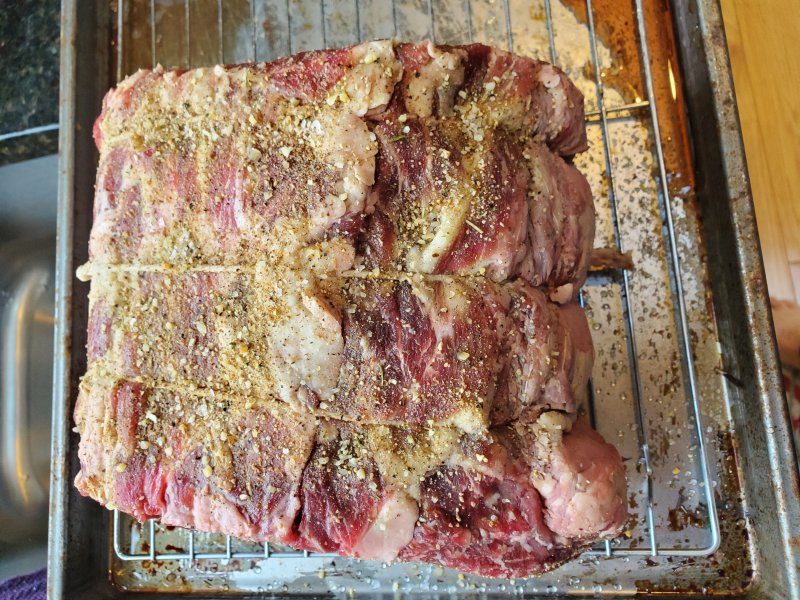
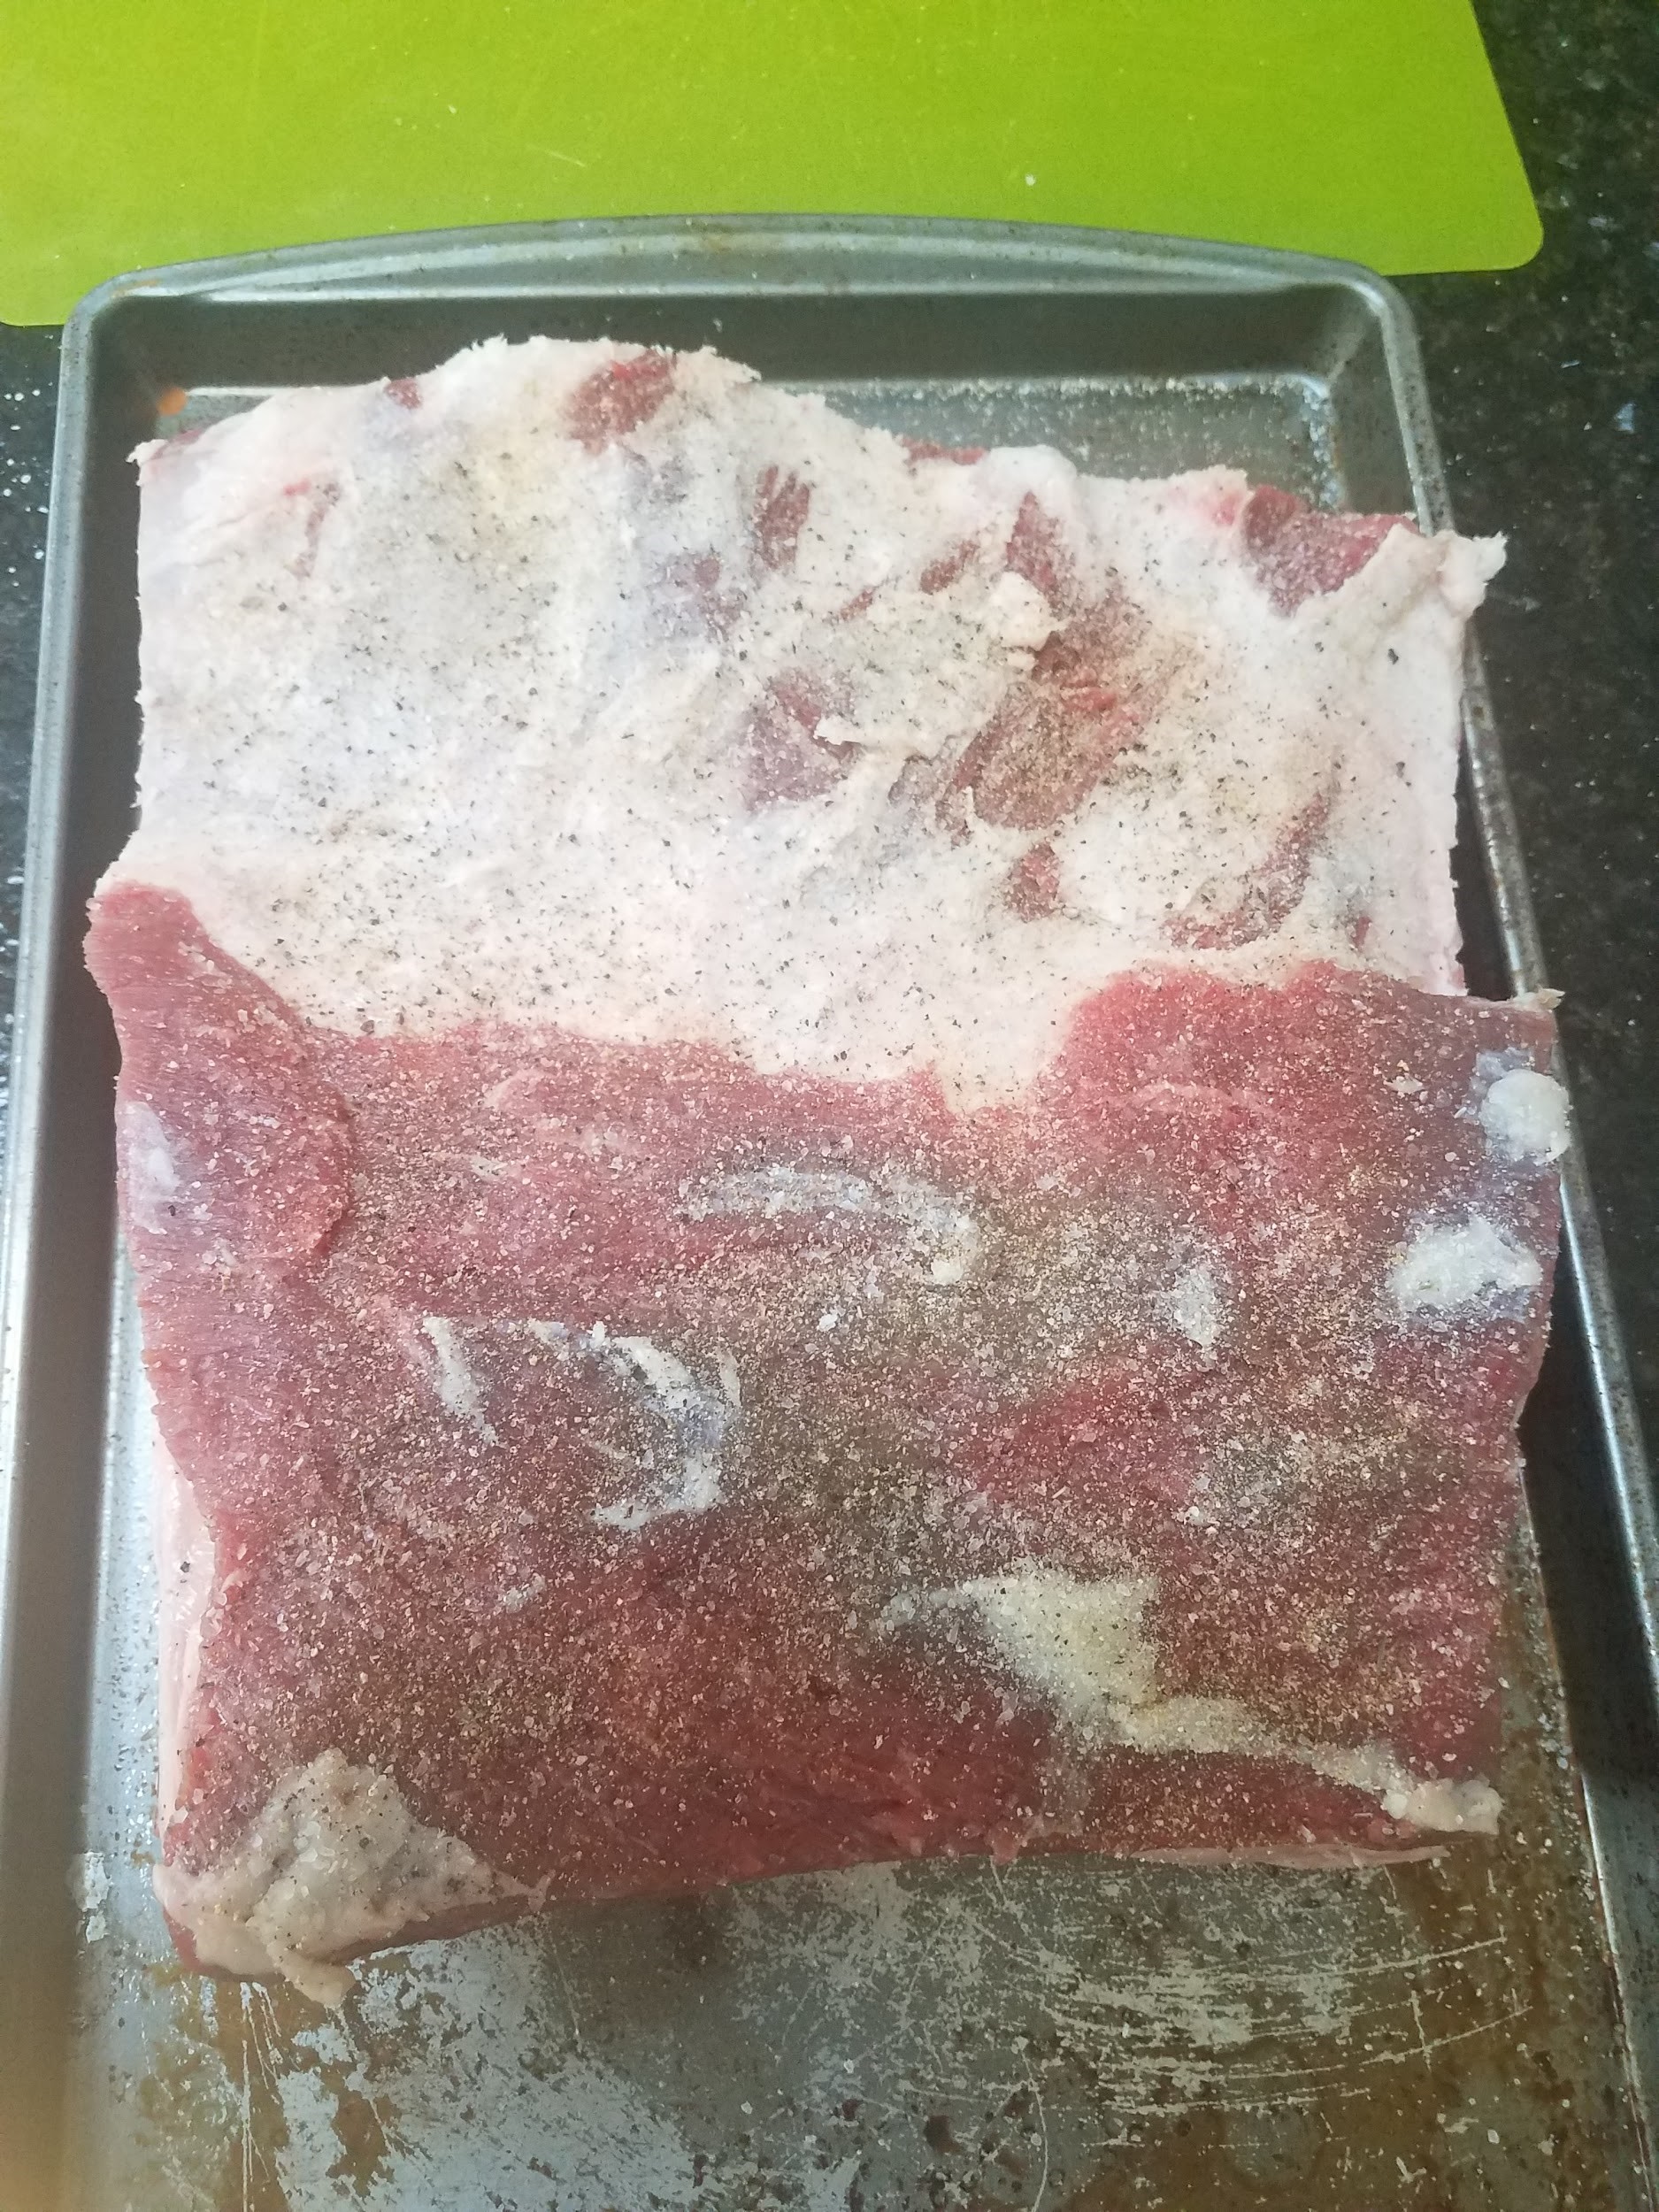
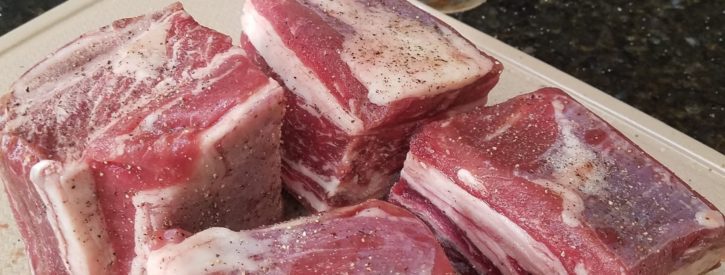
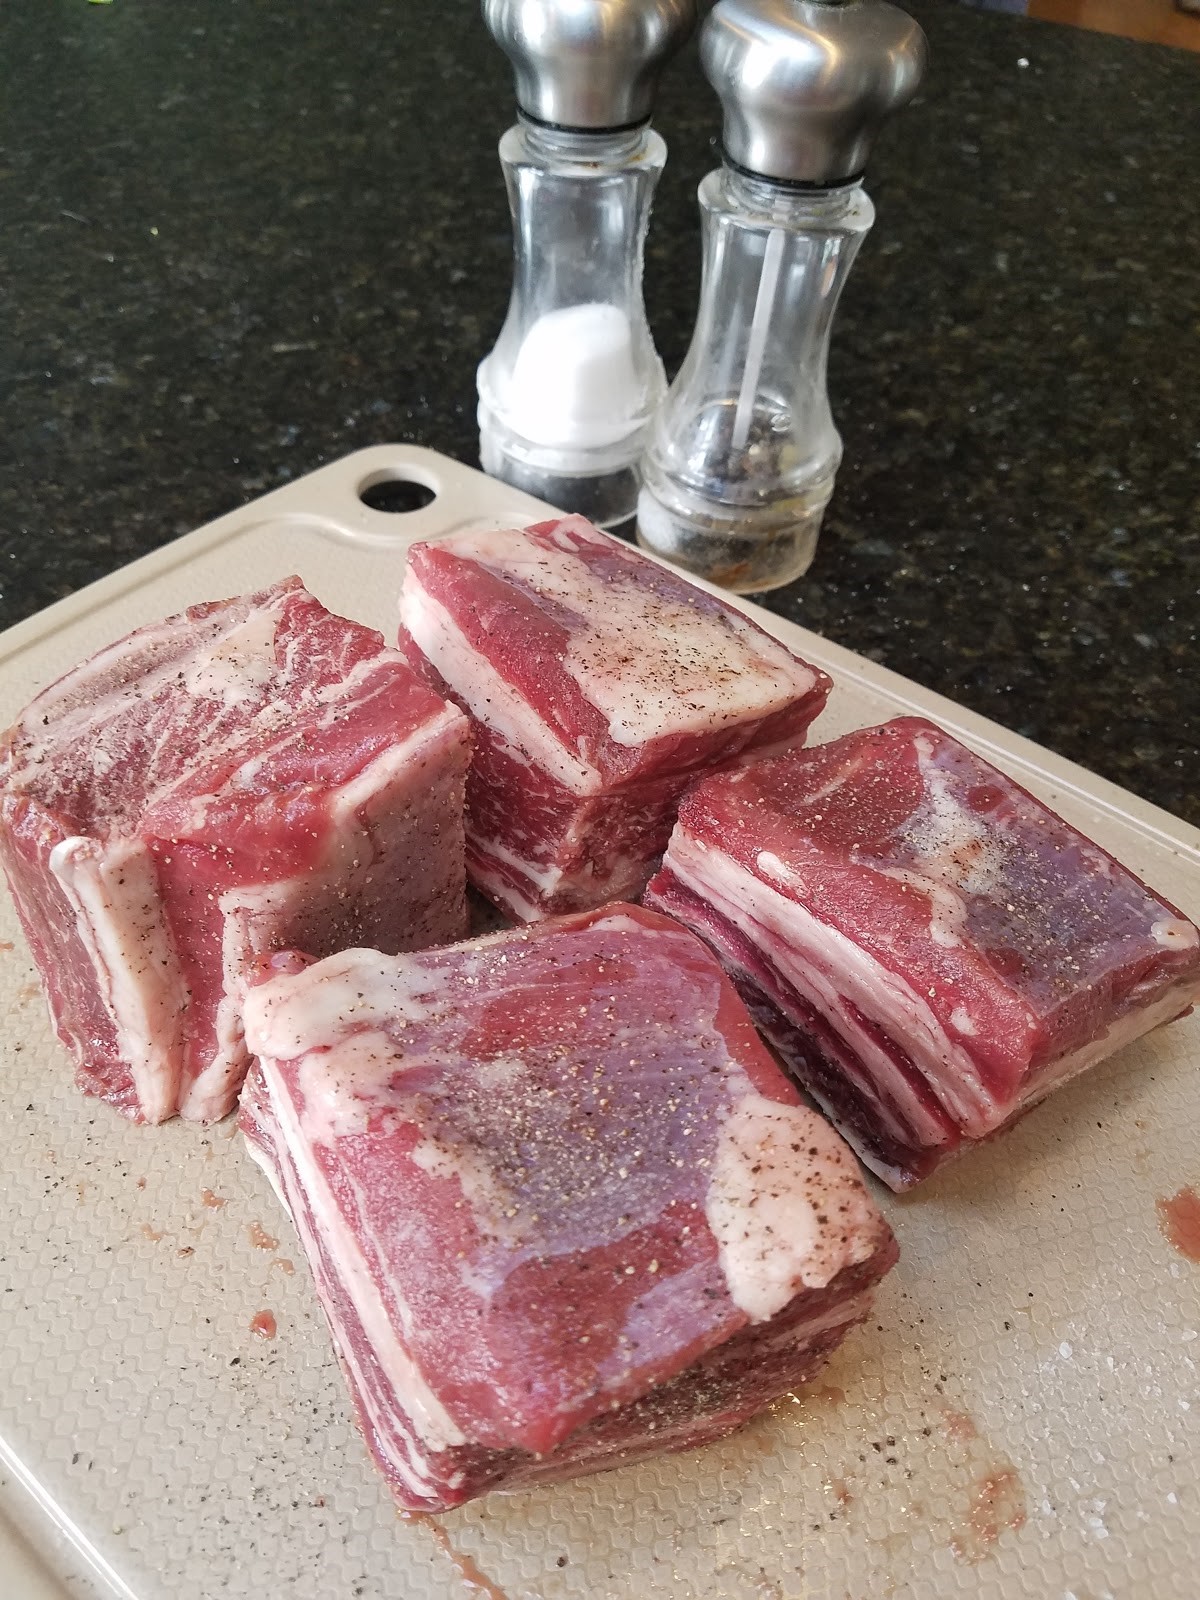
I find this mixture does not overpower the flavors of the beef but just enhances them. I placed the prime ribs on a cooling rack and then on a cookie sheet to collect any seasonings or liquids that are dropped. Then I heavily seasoned them. 

This is the ONLY seasoning this large piece of meat will receive so be generous.

I then let them sit at refrigerator temps for 3 days.

Sous Vide Cooking Method:

prime-rib in vacumn-sealed bag 
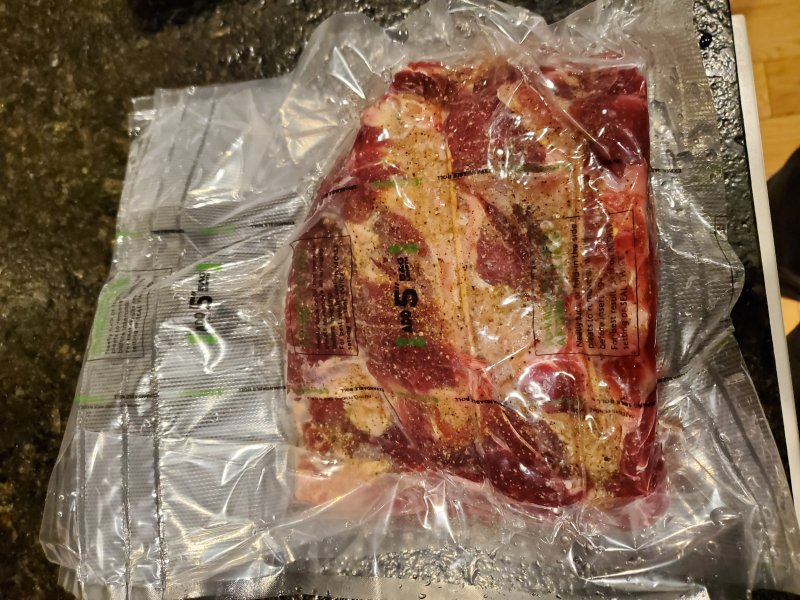
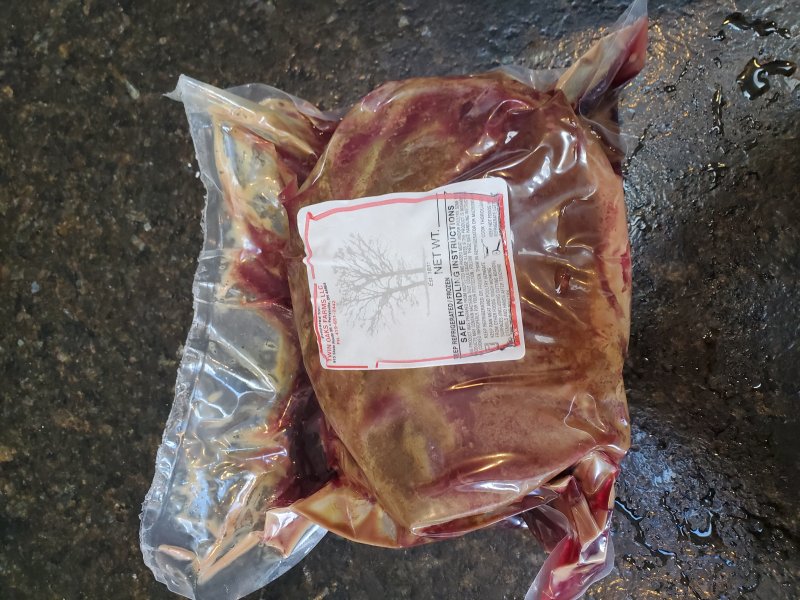
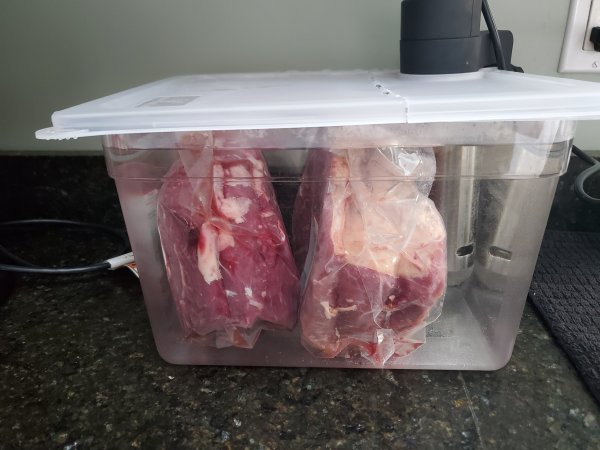
Then I removed one of them and placed it in a vacuum sealed bag.


Cooking thermometer shows 132 degrees
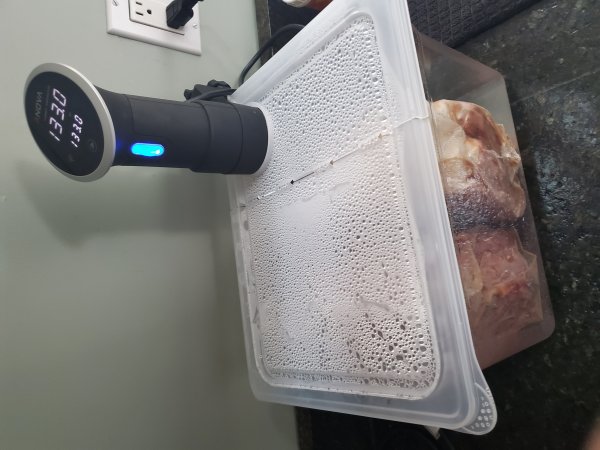
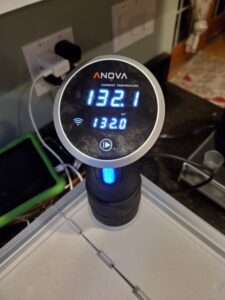
This prime rib roast then went into a Sous Vide water bath at 132 degrees.


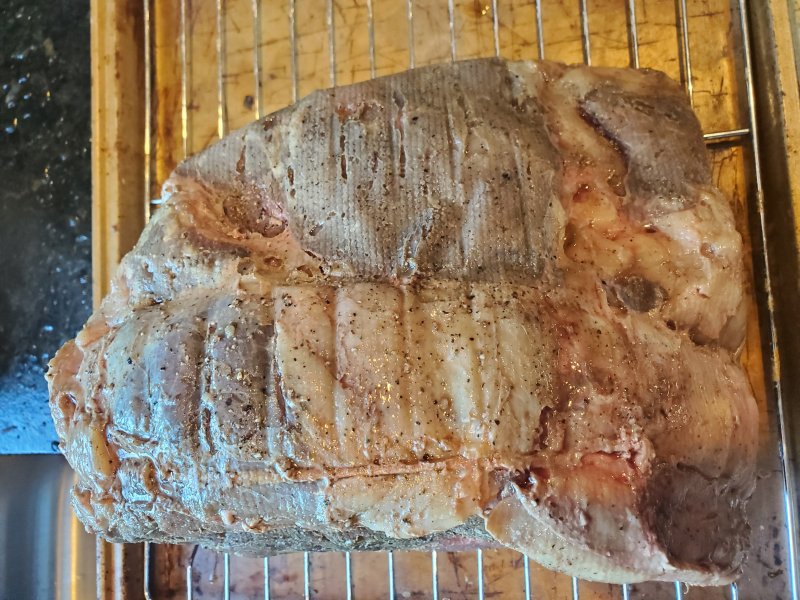
I chose that temperature because I wanted a medium rare finish to the prime rib. Sous vide cooking using a precisely controlled water temperature to cook whatever is placed into that water. You cannot over cook because it will only raise the temperature of the meat to the temperature of the water. However, there is a time component that is required to have the temperature go throughout the meat as well as you can use time and temperature to help breakdown connective tissue similarly to what happens in a braising but that’s a different recipe. I aimed for just over an hour for every inch of thickness for this prime rib. Once that time had been reached I removed the bag from the water bath and pulled out the prime rib. It honestly doesn’t look very appetizing at this point but it will so trust the method.

Then I dried it off using paper towels and then applied some high temperature oil, such as grapeseed to the outside.

Skip ahead to the Searing section.


Slow Roasting method:

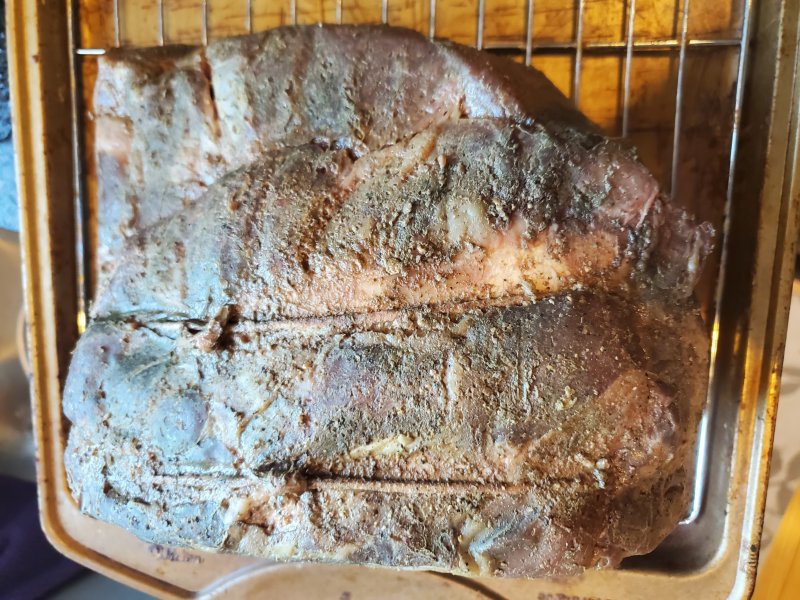
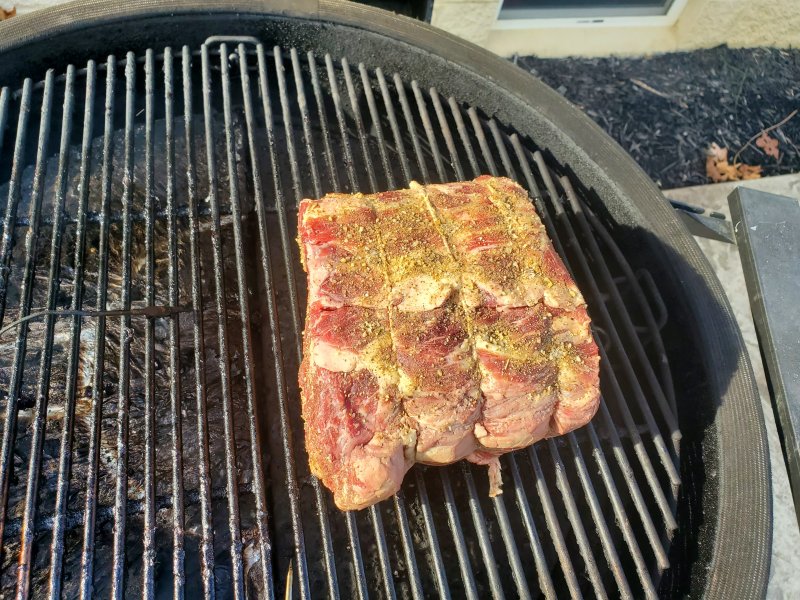
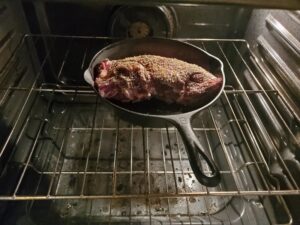
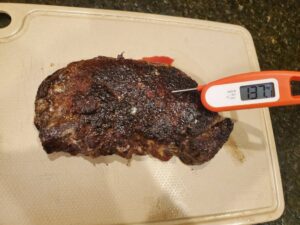
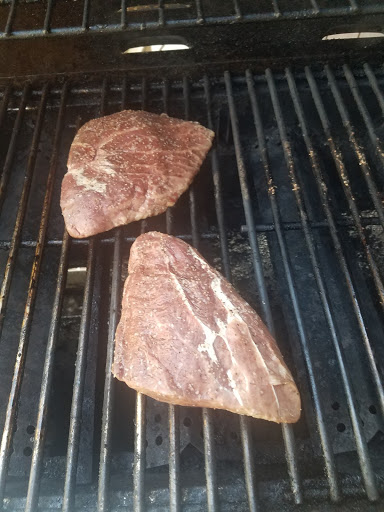
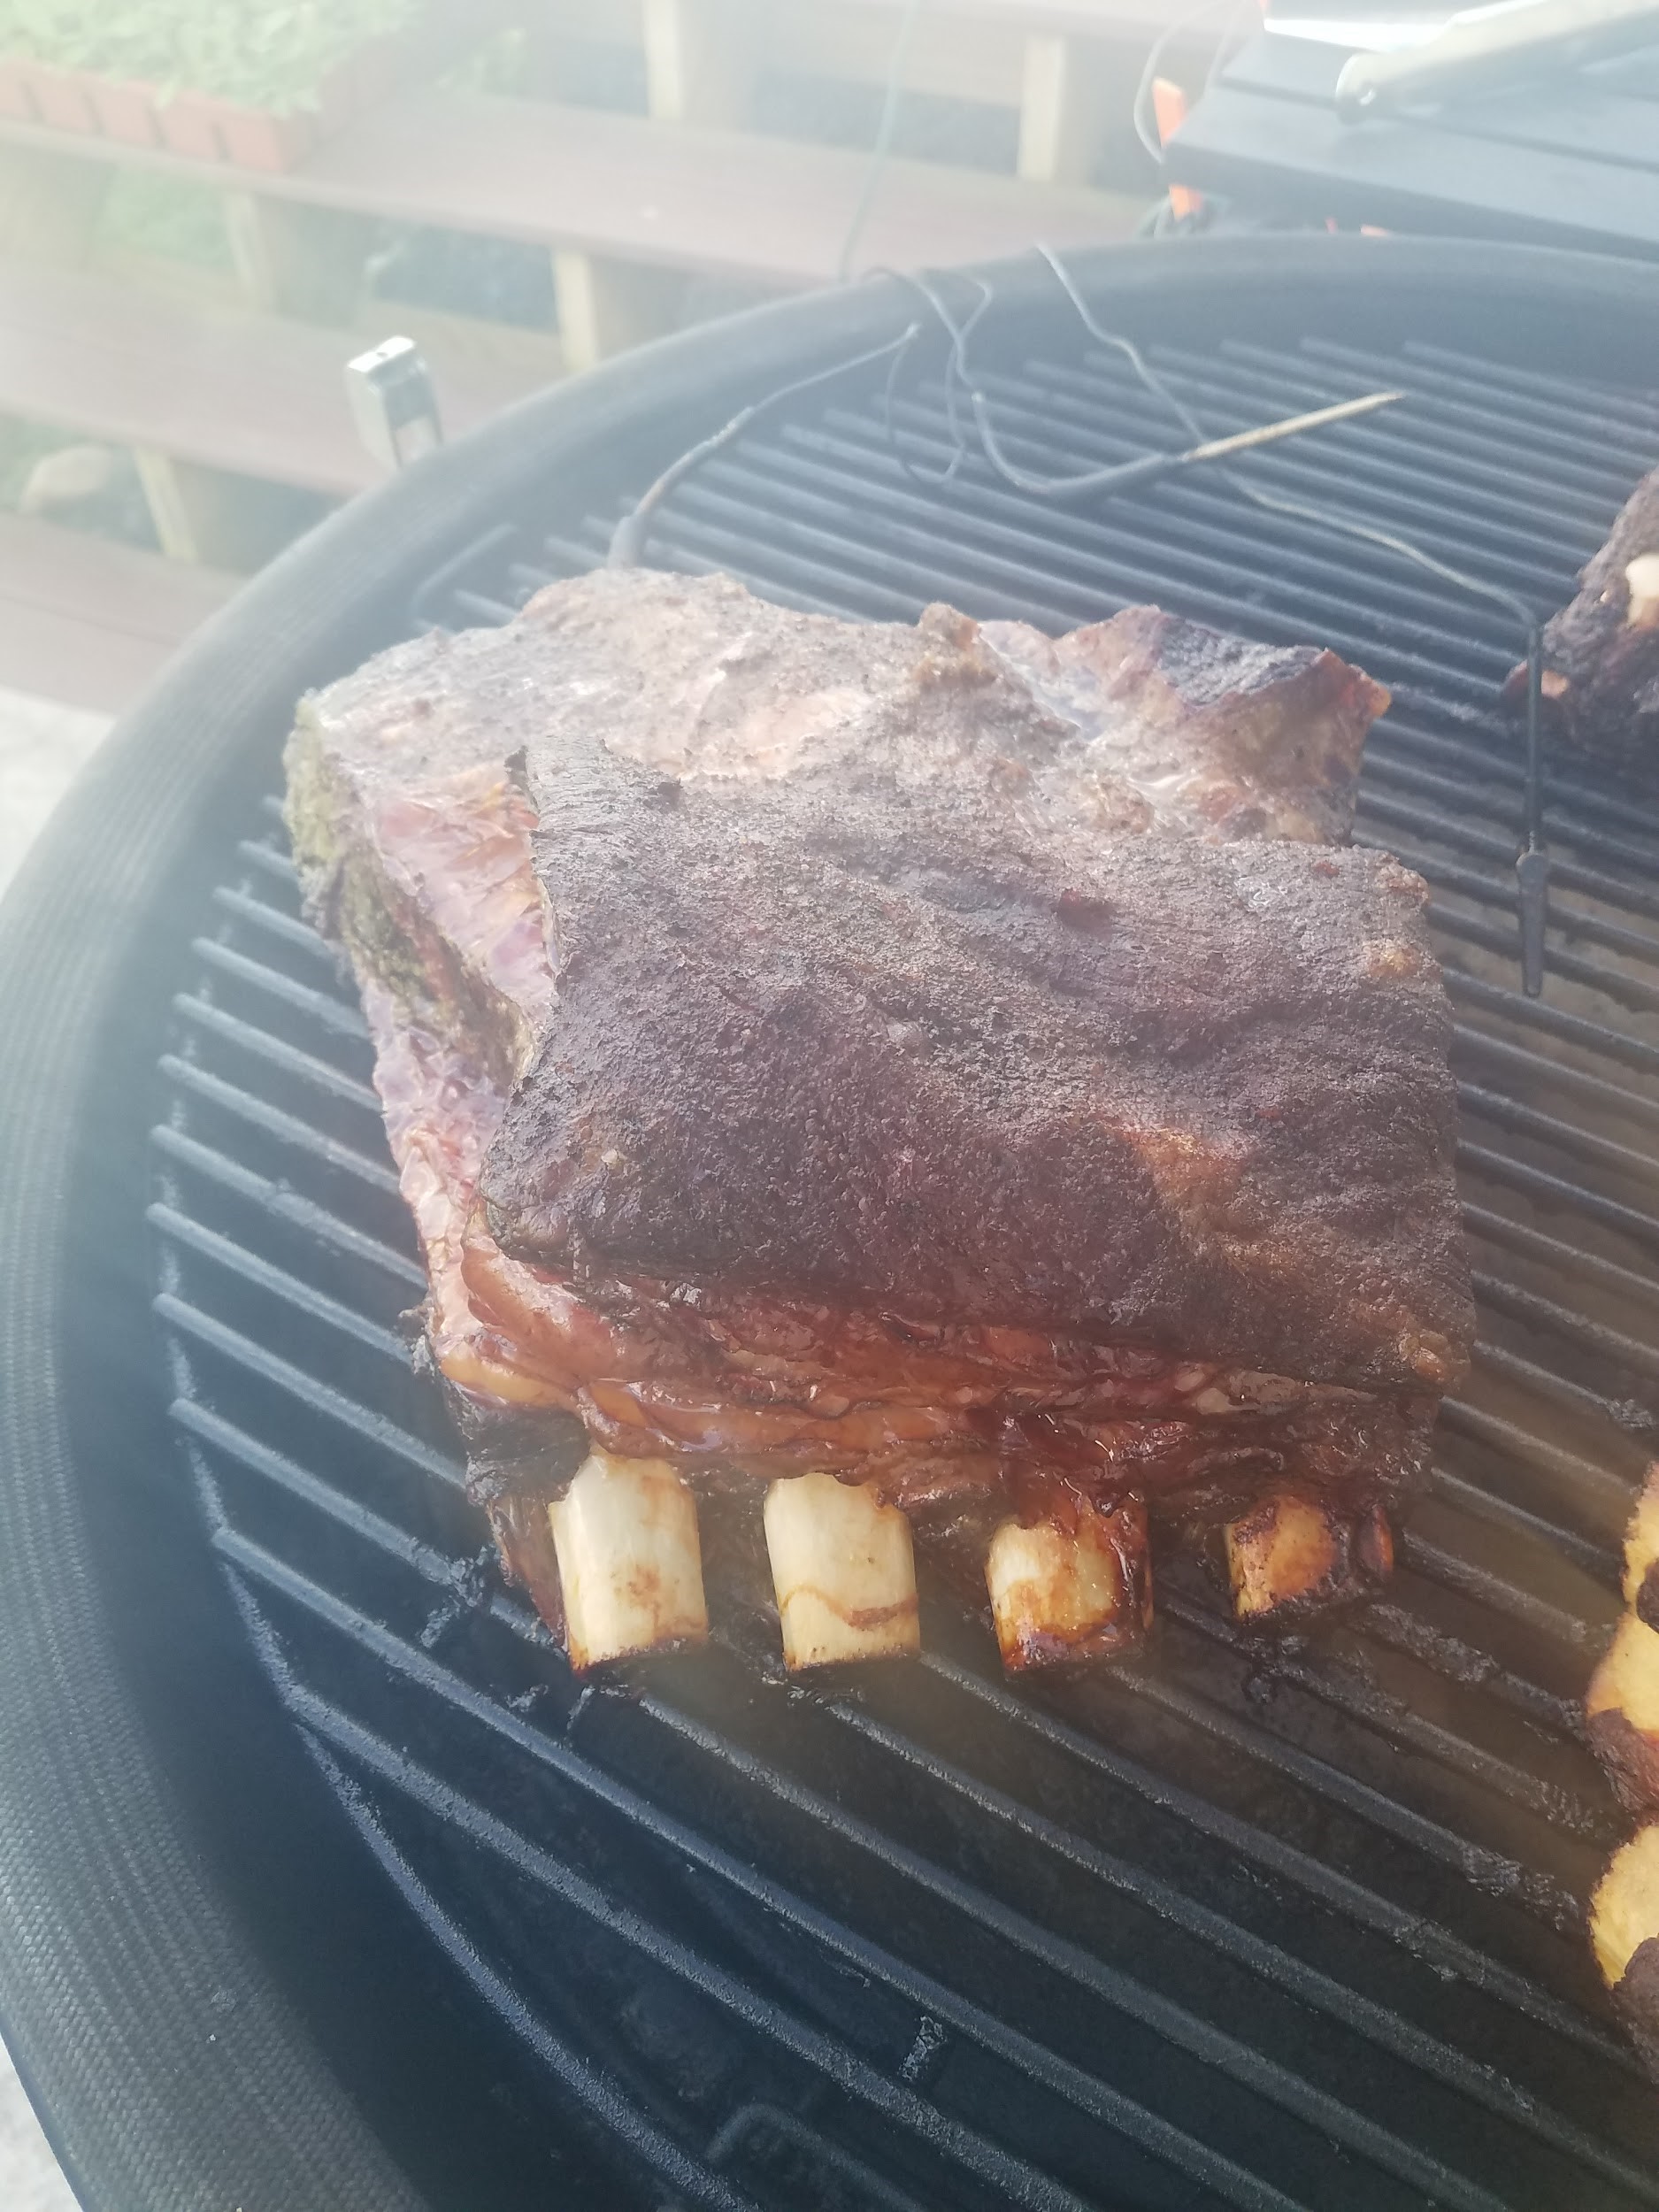
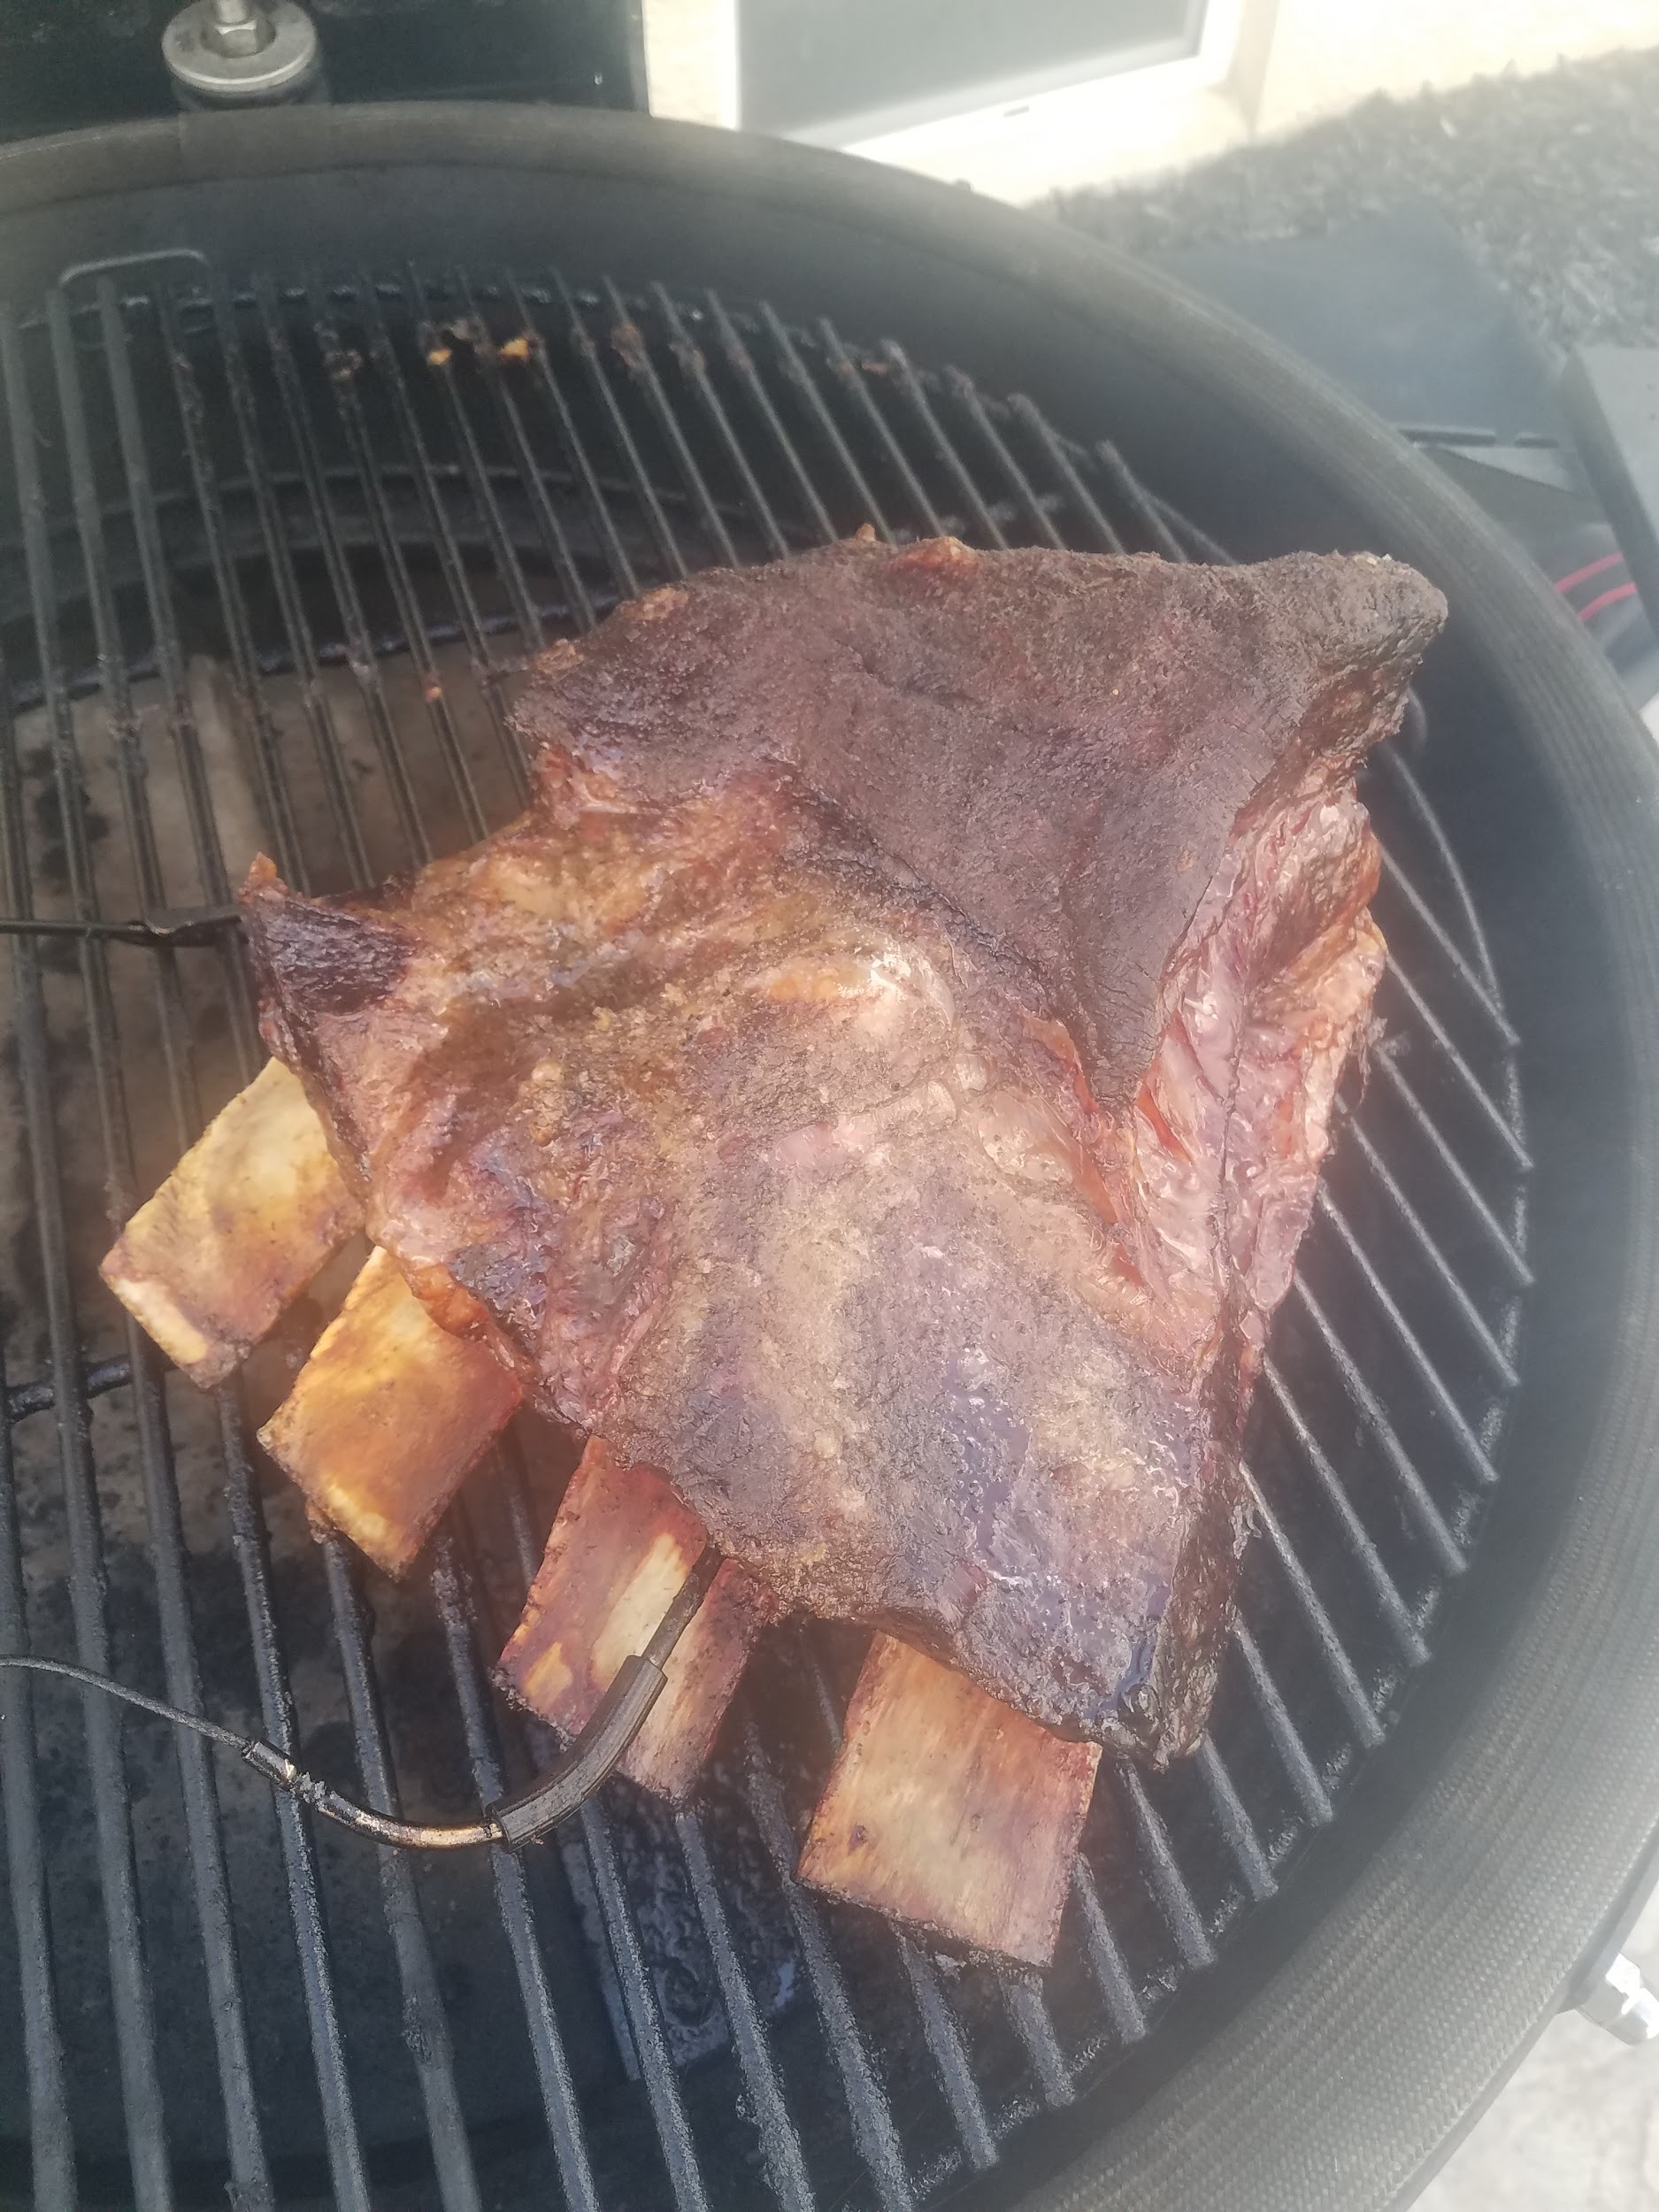
Then I got my grill started. I have a ceramic kamado style charcoal grill. You could use any other type of grill where you can accurately control the temperature, or even an oven to do the other style of prime rib. I brought my temperature up to 250 degrees and with indirect heat. Once it had come up to and stabilized at the temperature I placed the other prime rib on there and placed a temperature probe into the center of the roast so that I could monitor the temperature. (See picture.)

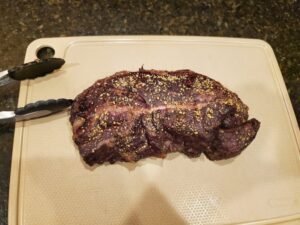
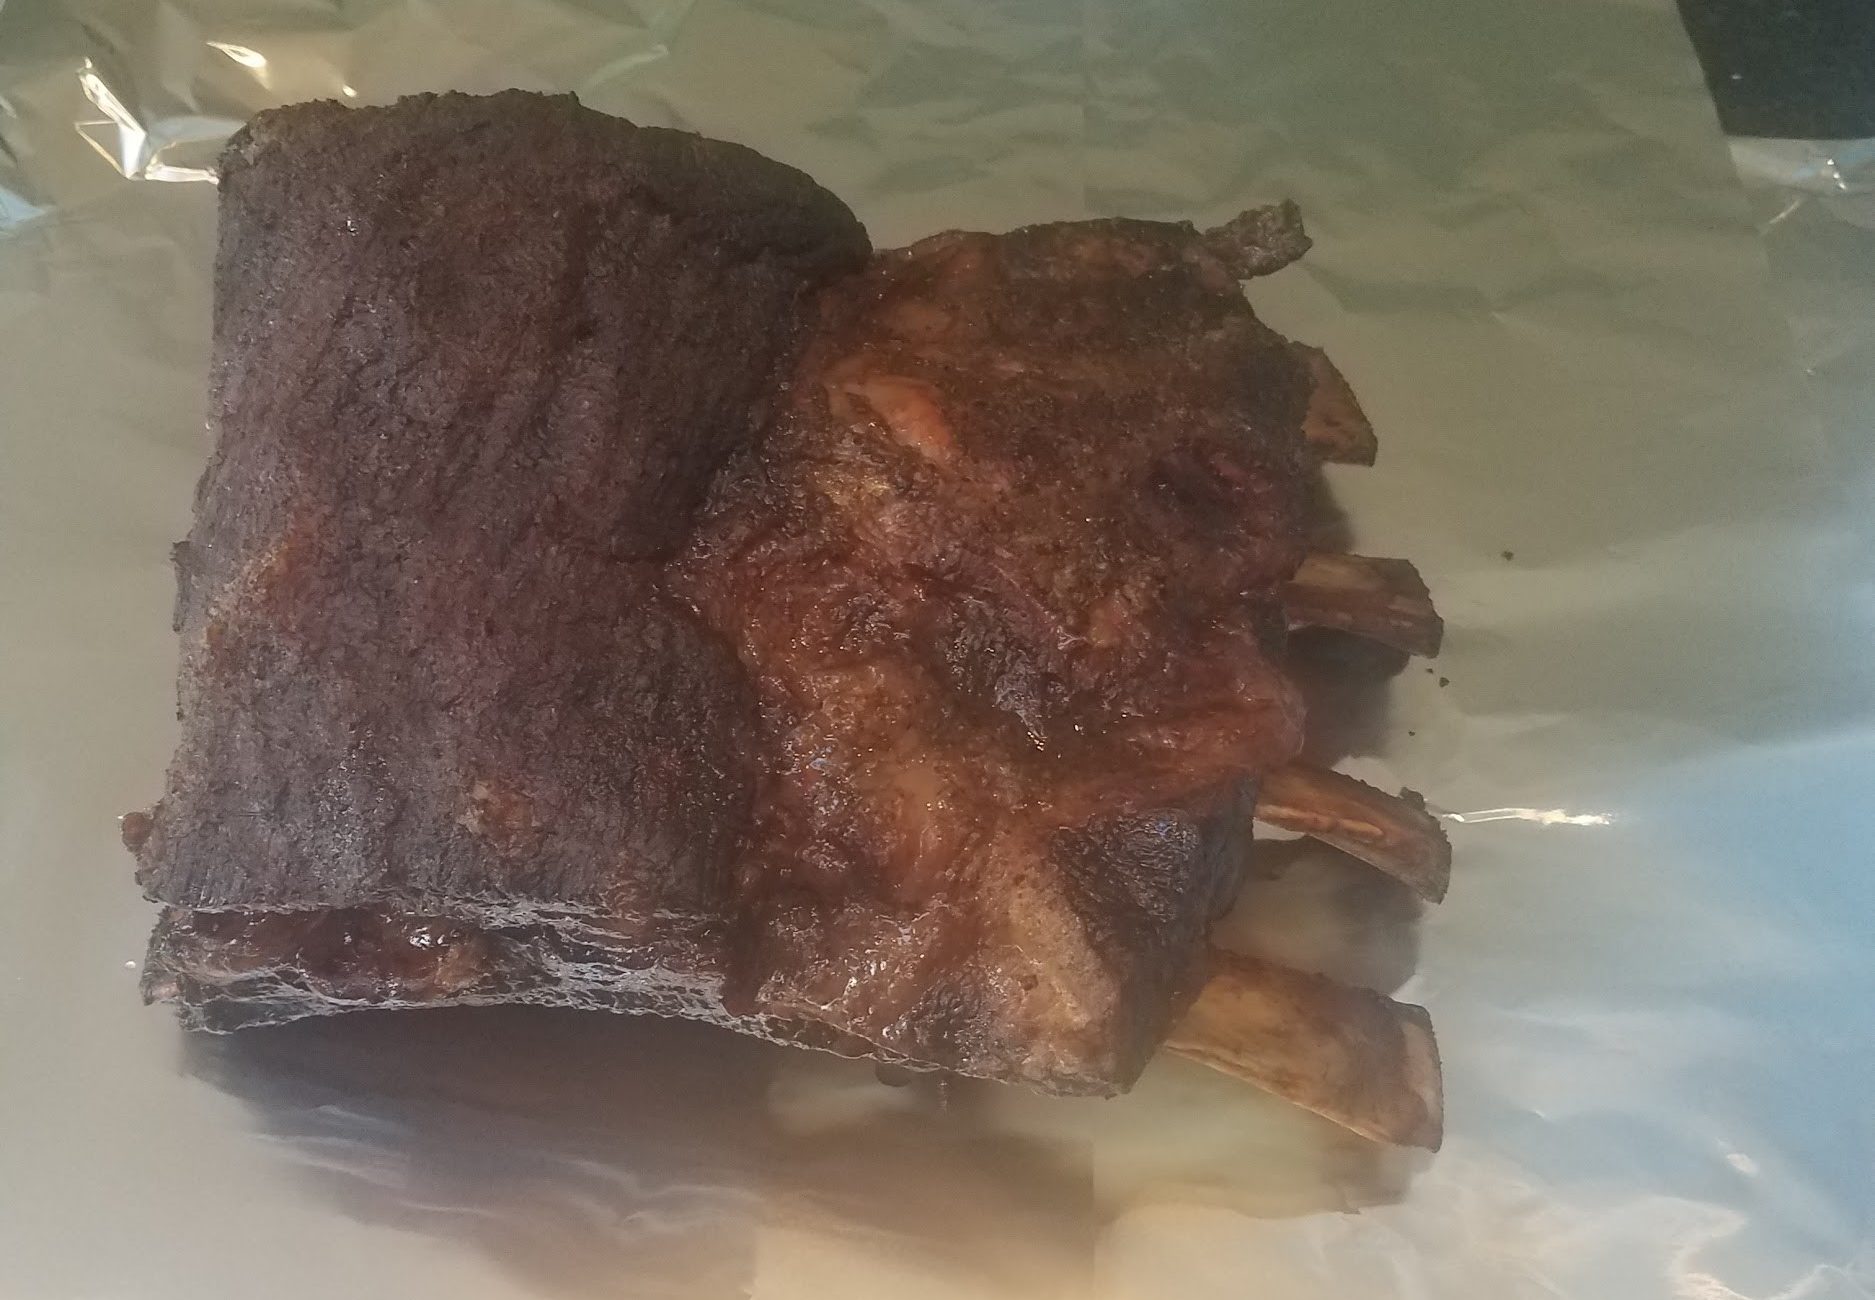
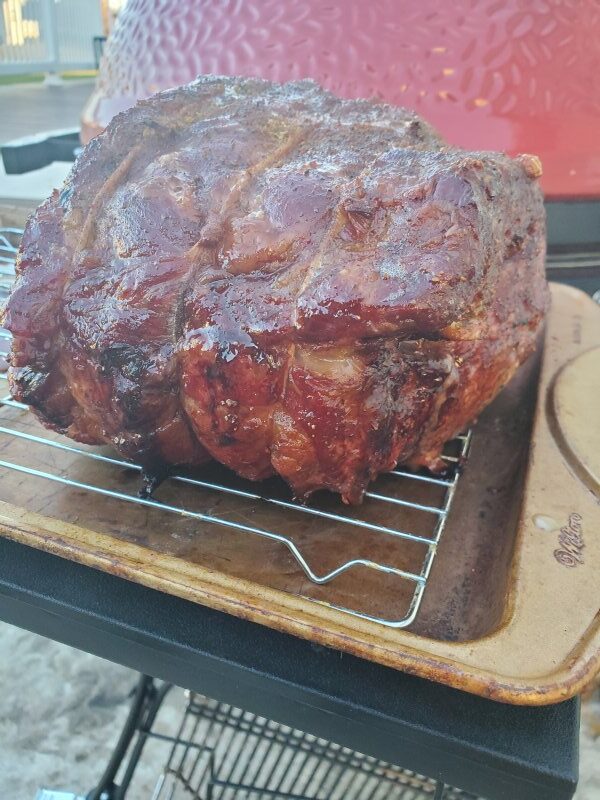
I let it slow roast (no peeking) until it reached an internal temperature of 126. I knew it would have some carryover cooking and once again was aiming for a medium rare finish. Once it reached that temperature I pulled it off and placed it on a cooling rack until the grill was ready for searing. It looks great but will look better so be patient.

Roasted prime-rib on cooling rack


Searing:

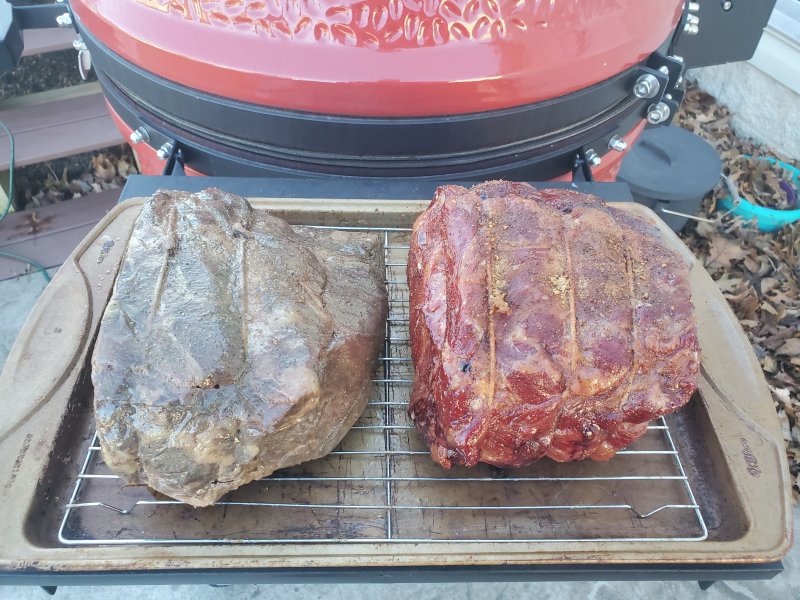
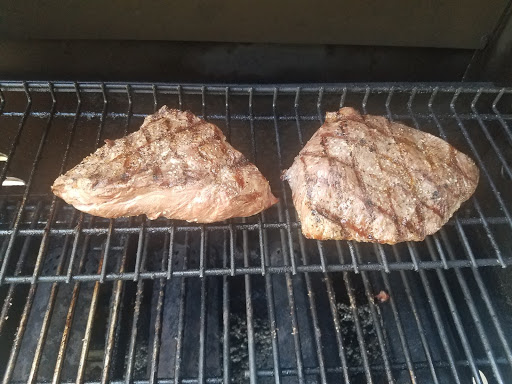
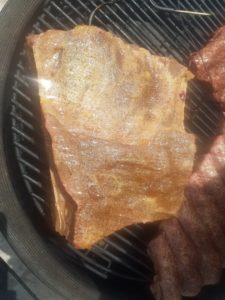
You can see both prime ribs waiting on a cooking rack while I got my grill up to temperature. You could once again us other grills, or even an oven or broiler for this. If the prime rib was small enough or you had a large enough cast iron stove-top would also be an option. A word of warning, if doing this inside it can generate some smoke so be prepared (or warned).

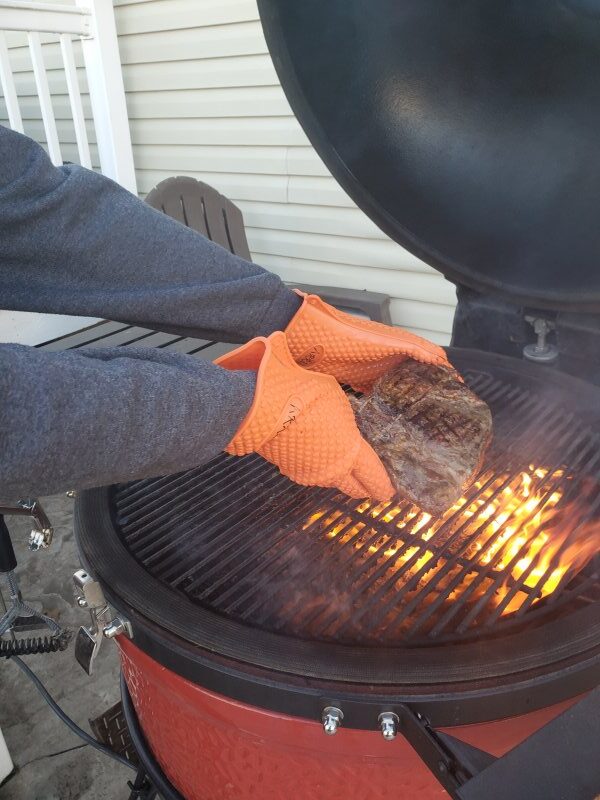
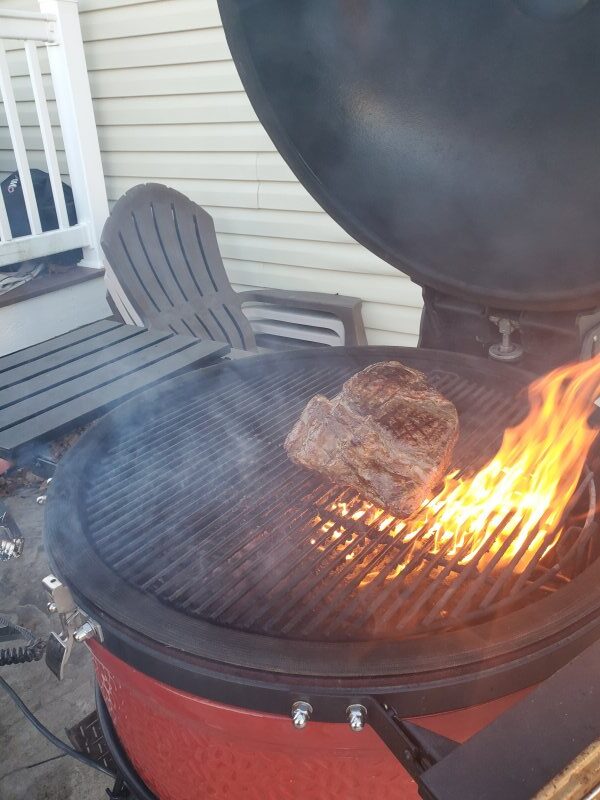
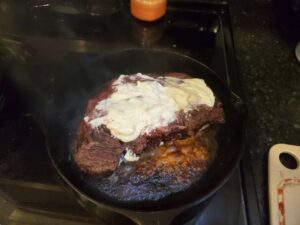
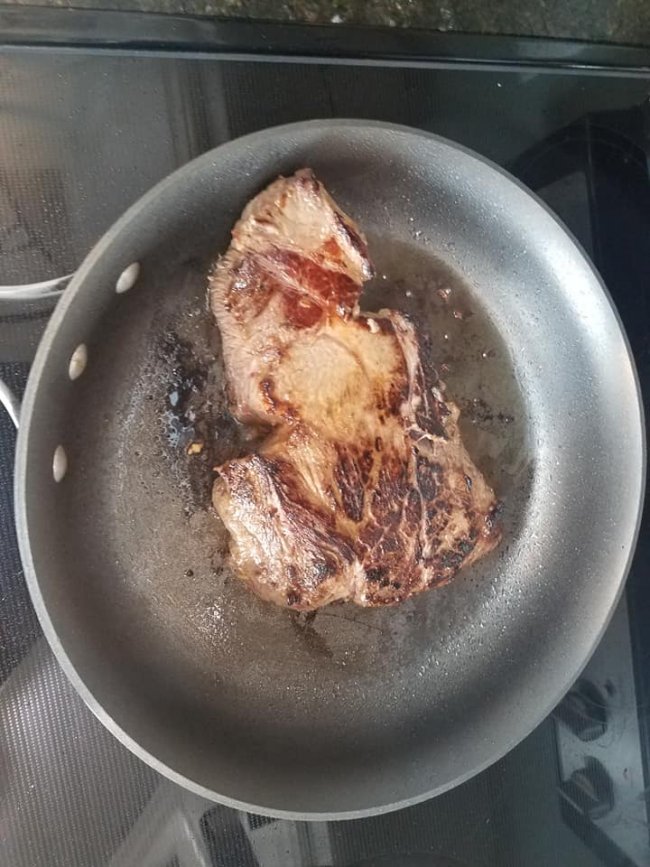
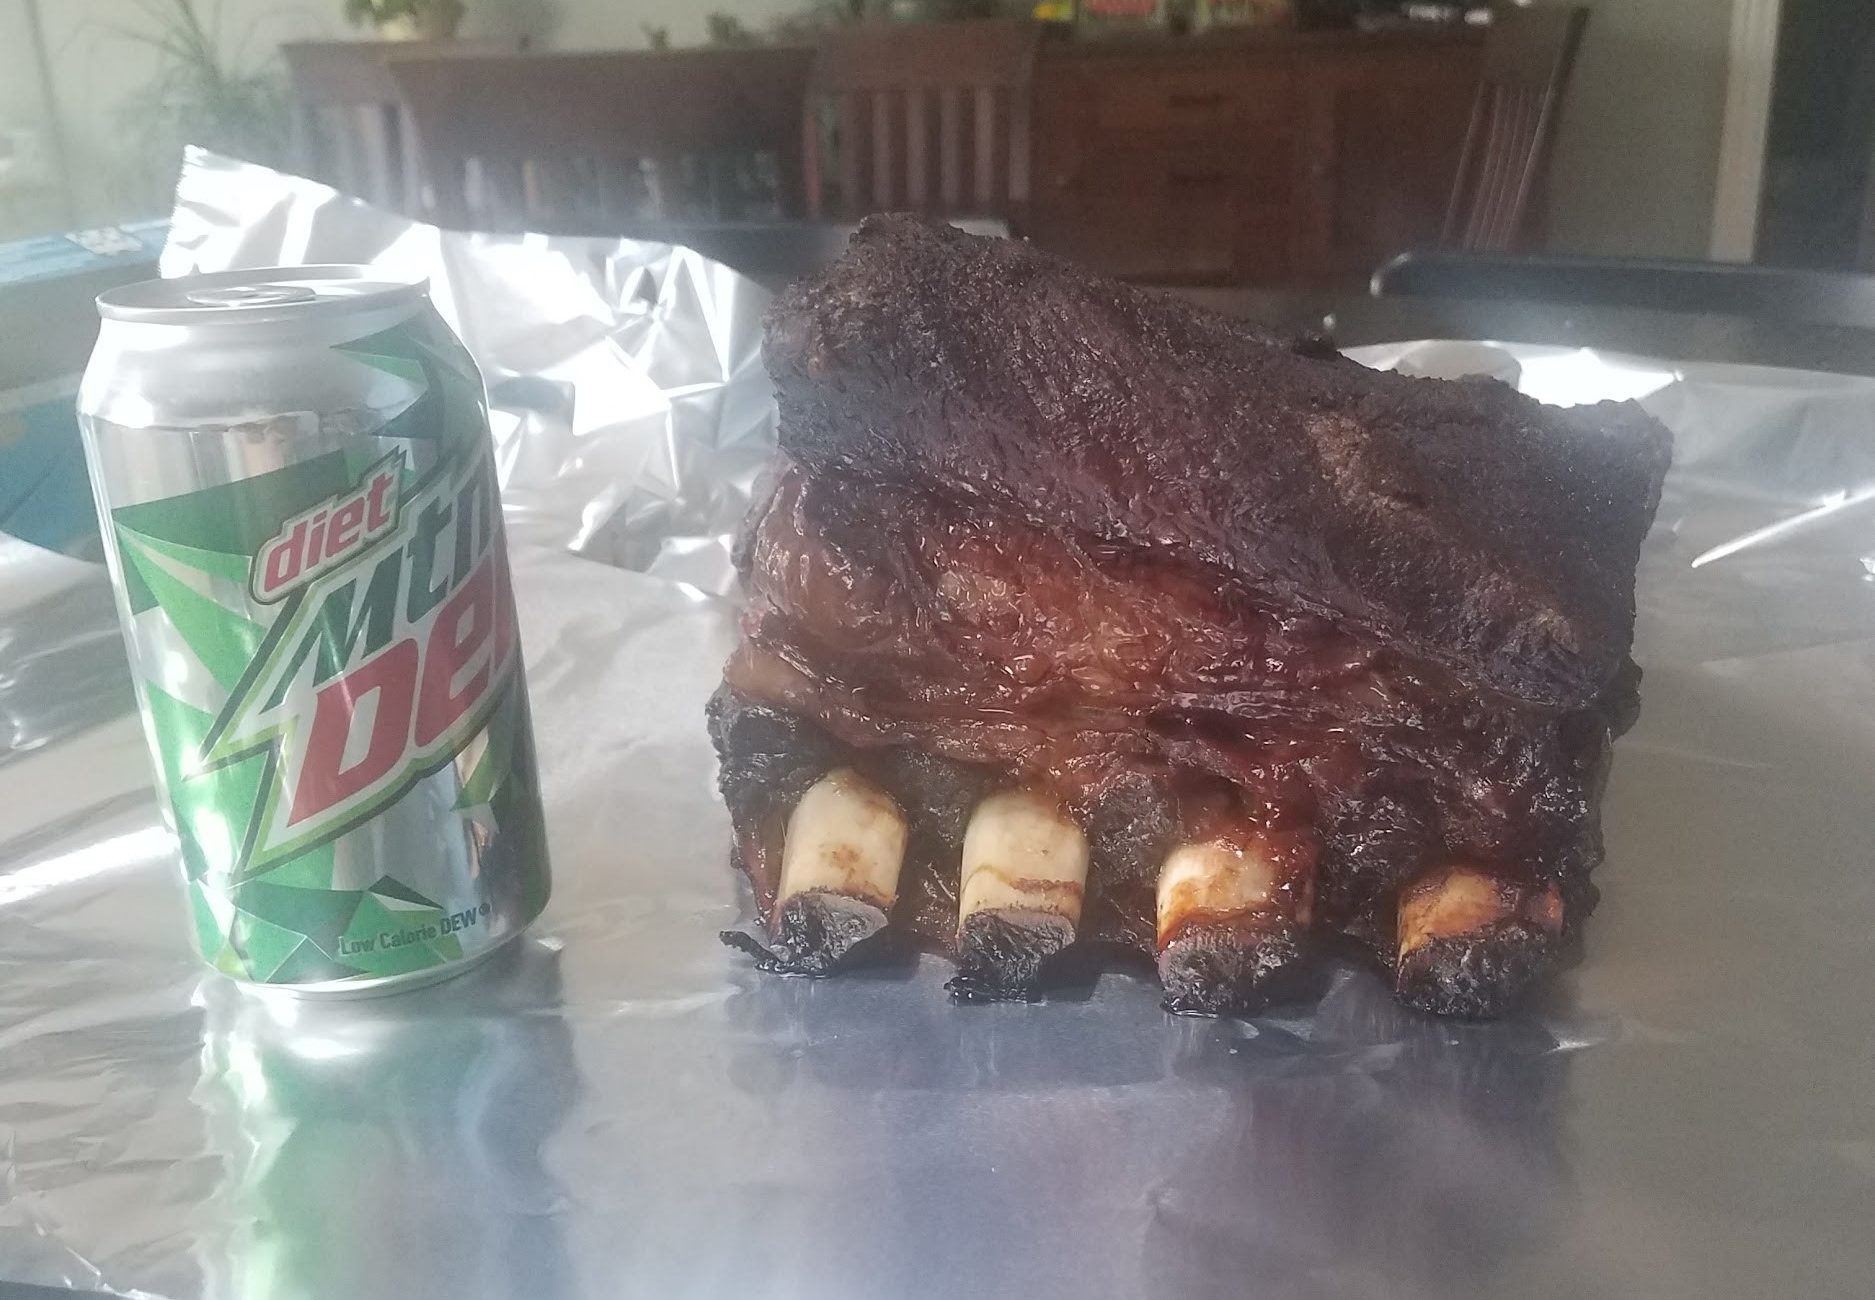
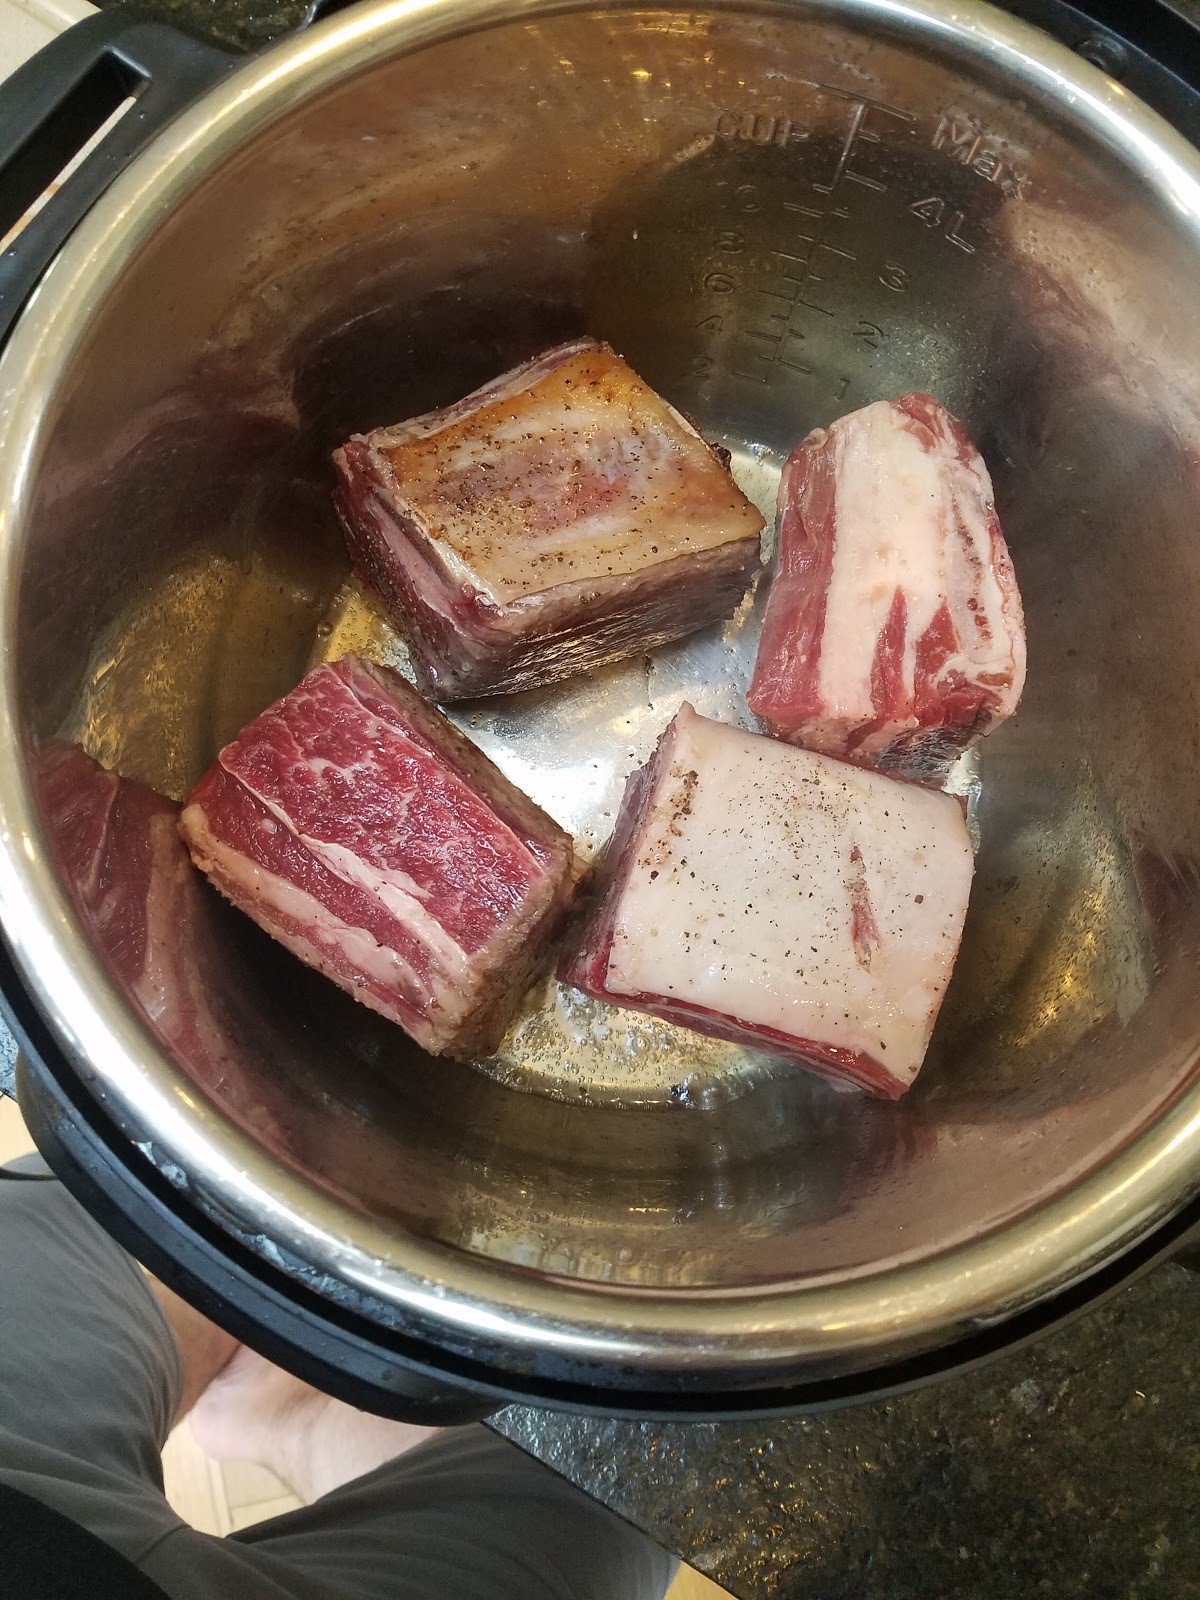
I brought my grill up to 400-450 degrees and direct heat. I used heatproof gloves and quickly seared all the surfaces of both of the prime ribs.

Then I wrapped them up in aluminum foil and let them rest until it was time to serve (approximately 20-40 minutes).

Slicing and serving:

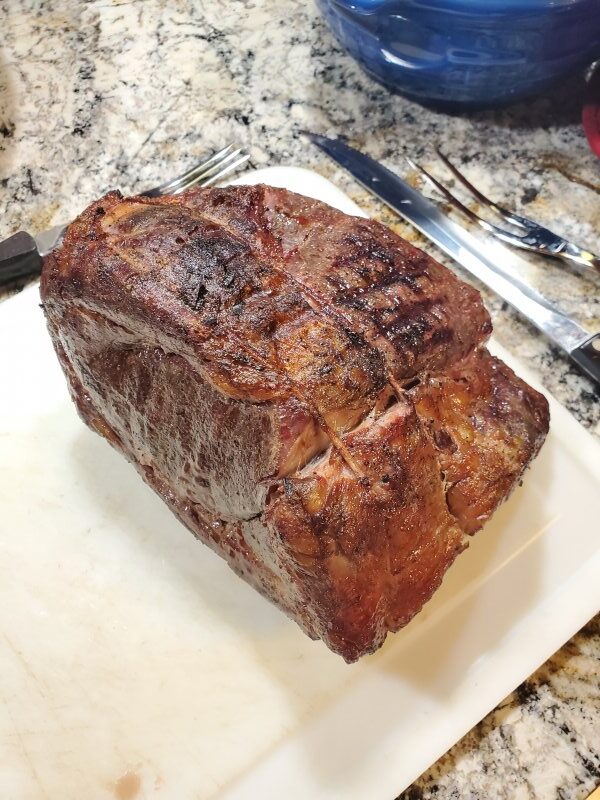
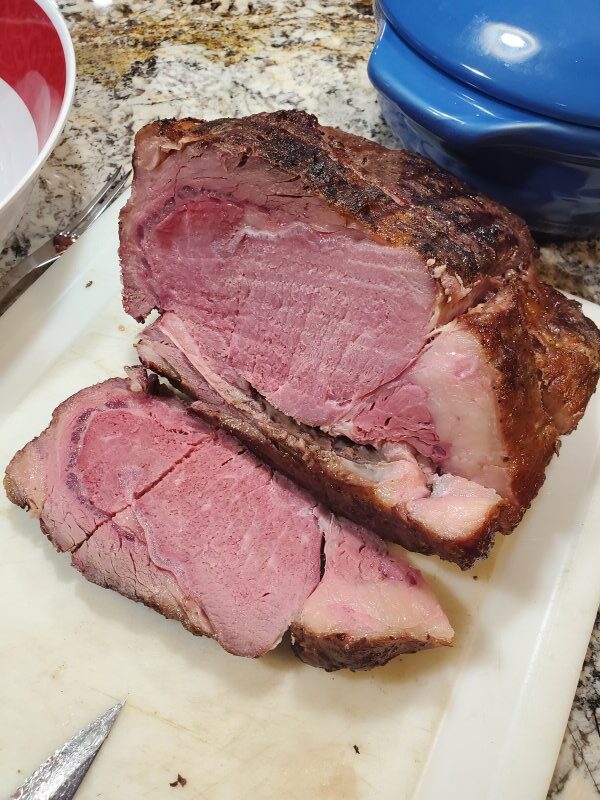
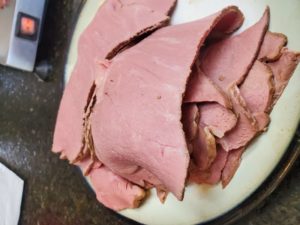
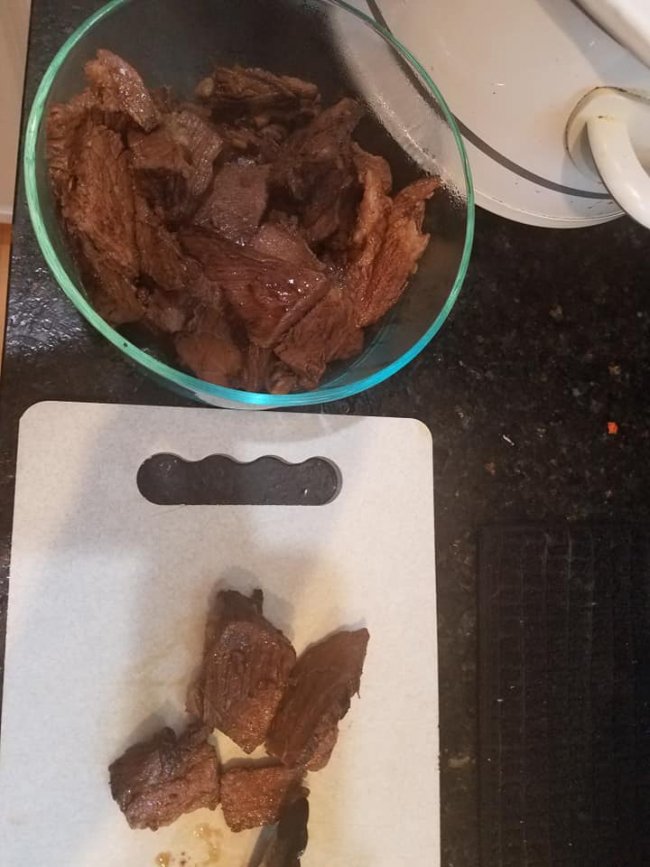
I unwrapped the prime rib roast from the aluminum foil and placed it on a cutting board. First up is the sous vide method prime rib. I removed the bones and saved them for a snack later.

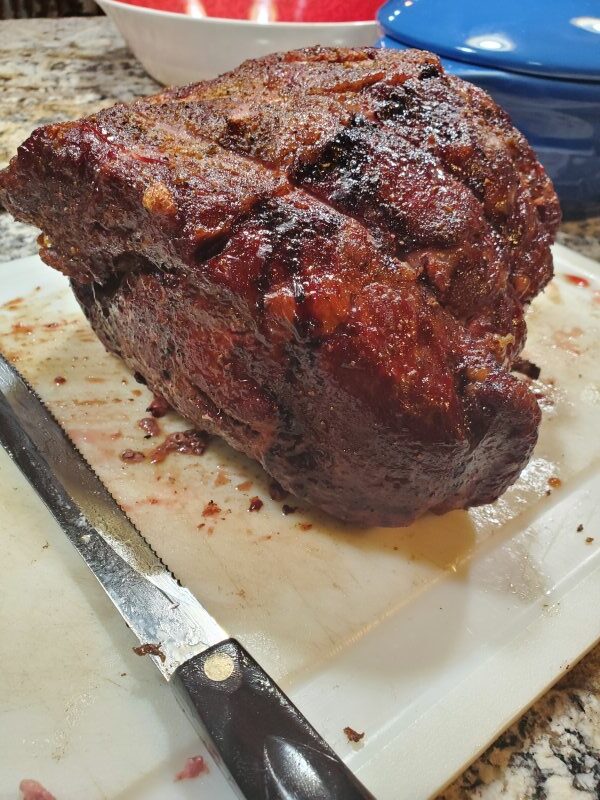
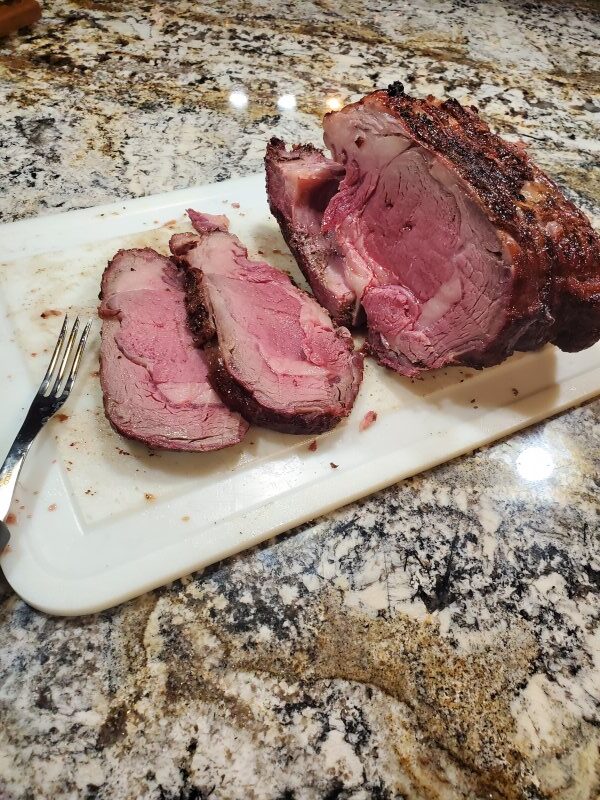
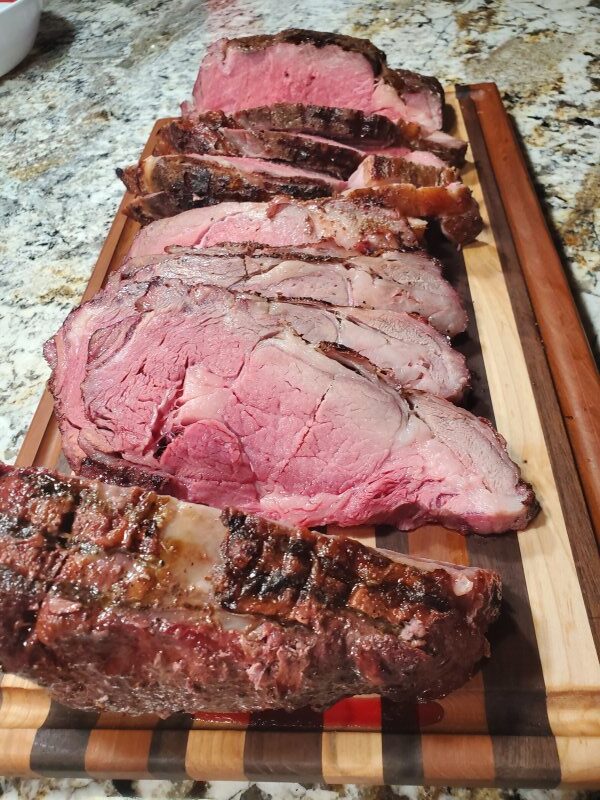
Then came the slow roasted prime rib which underwent the same process.

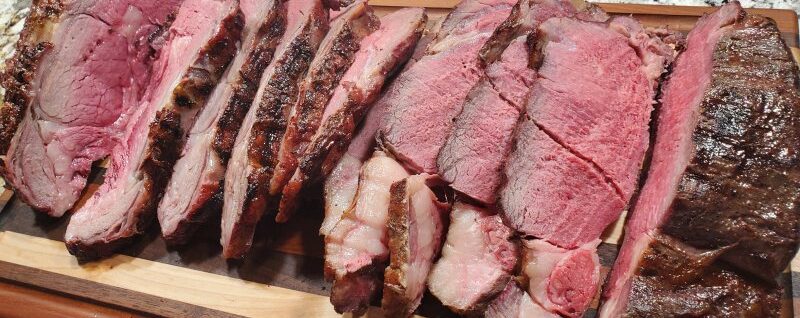
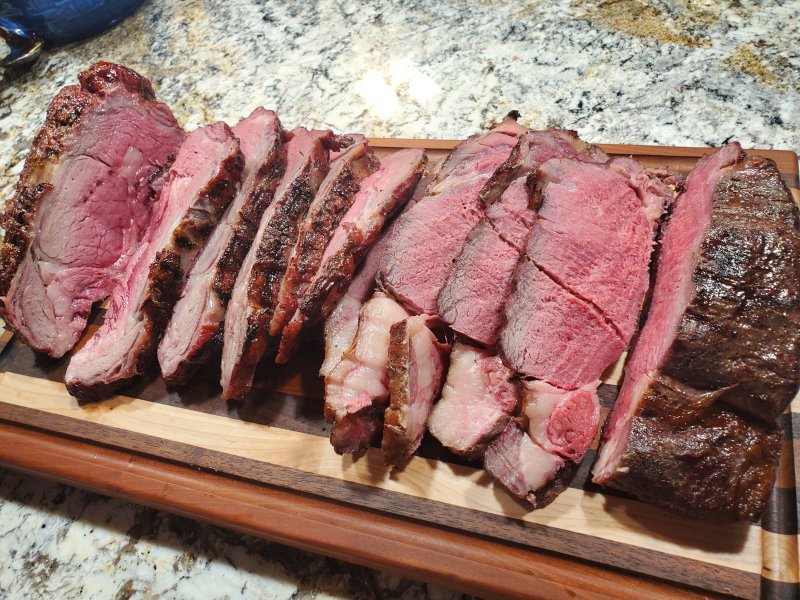
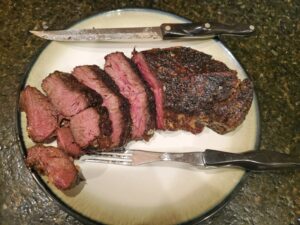
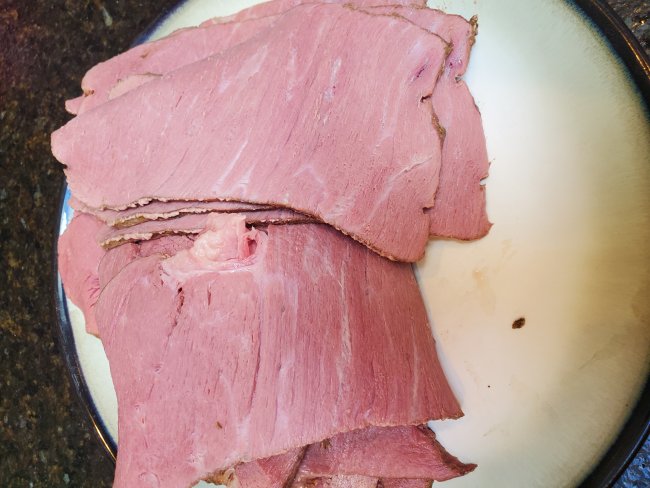
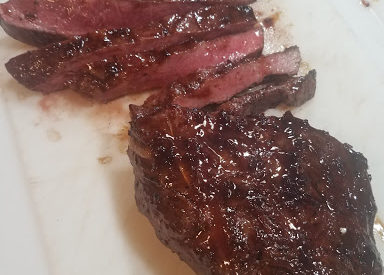
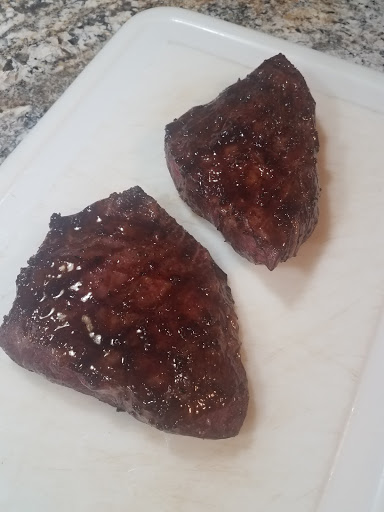
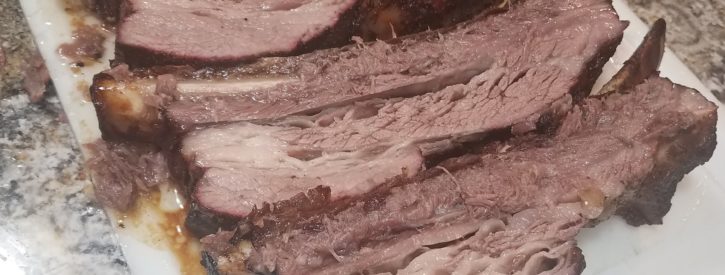
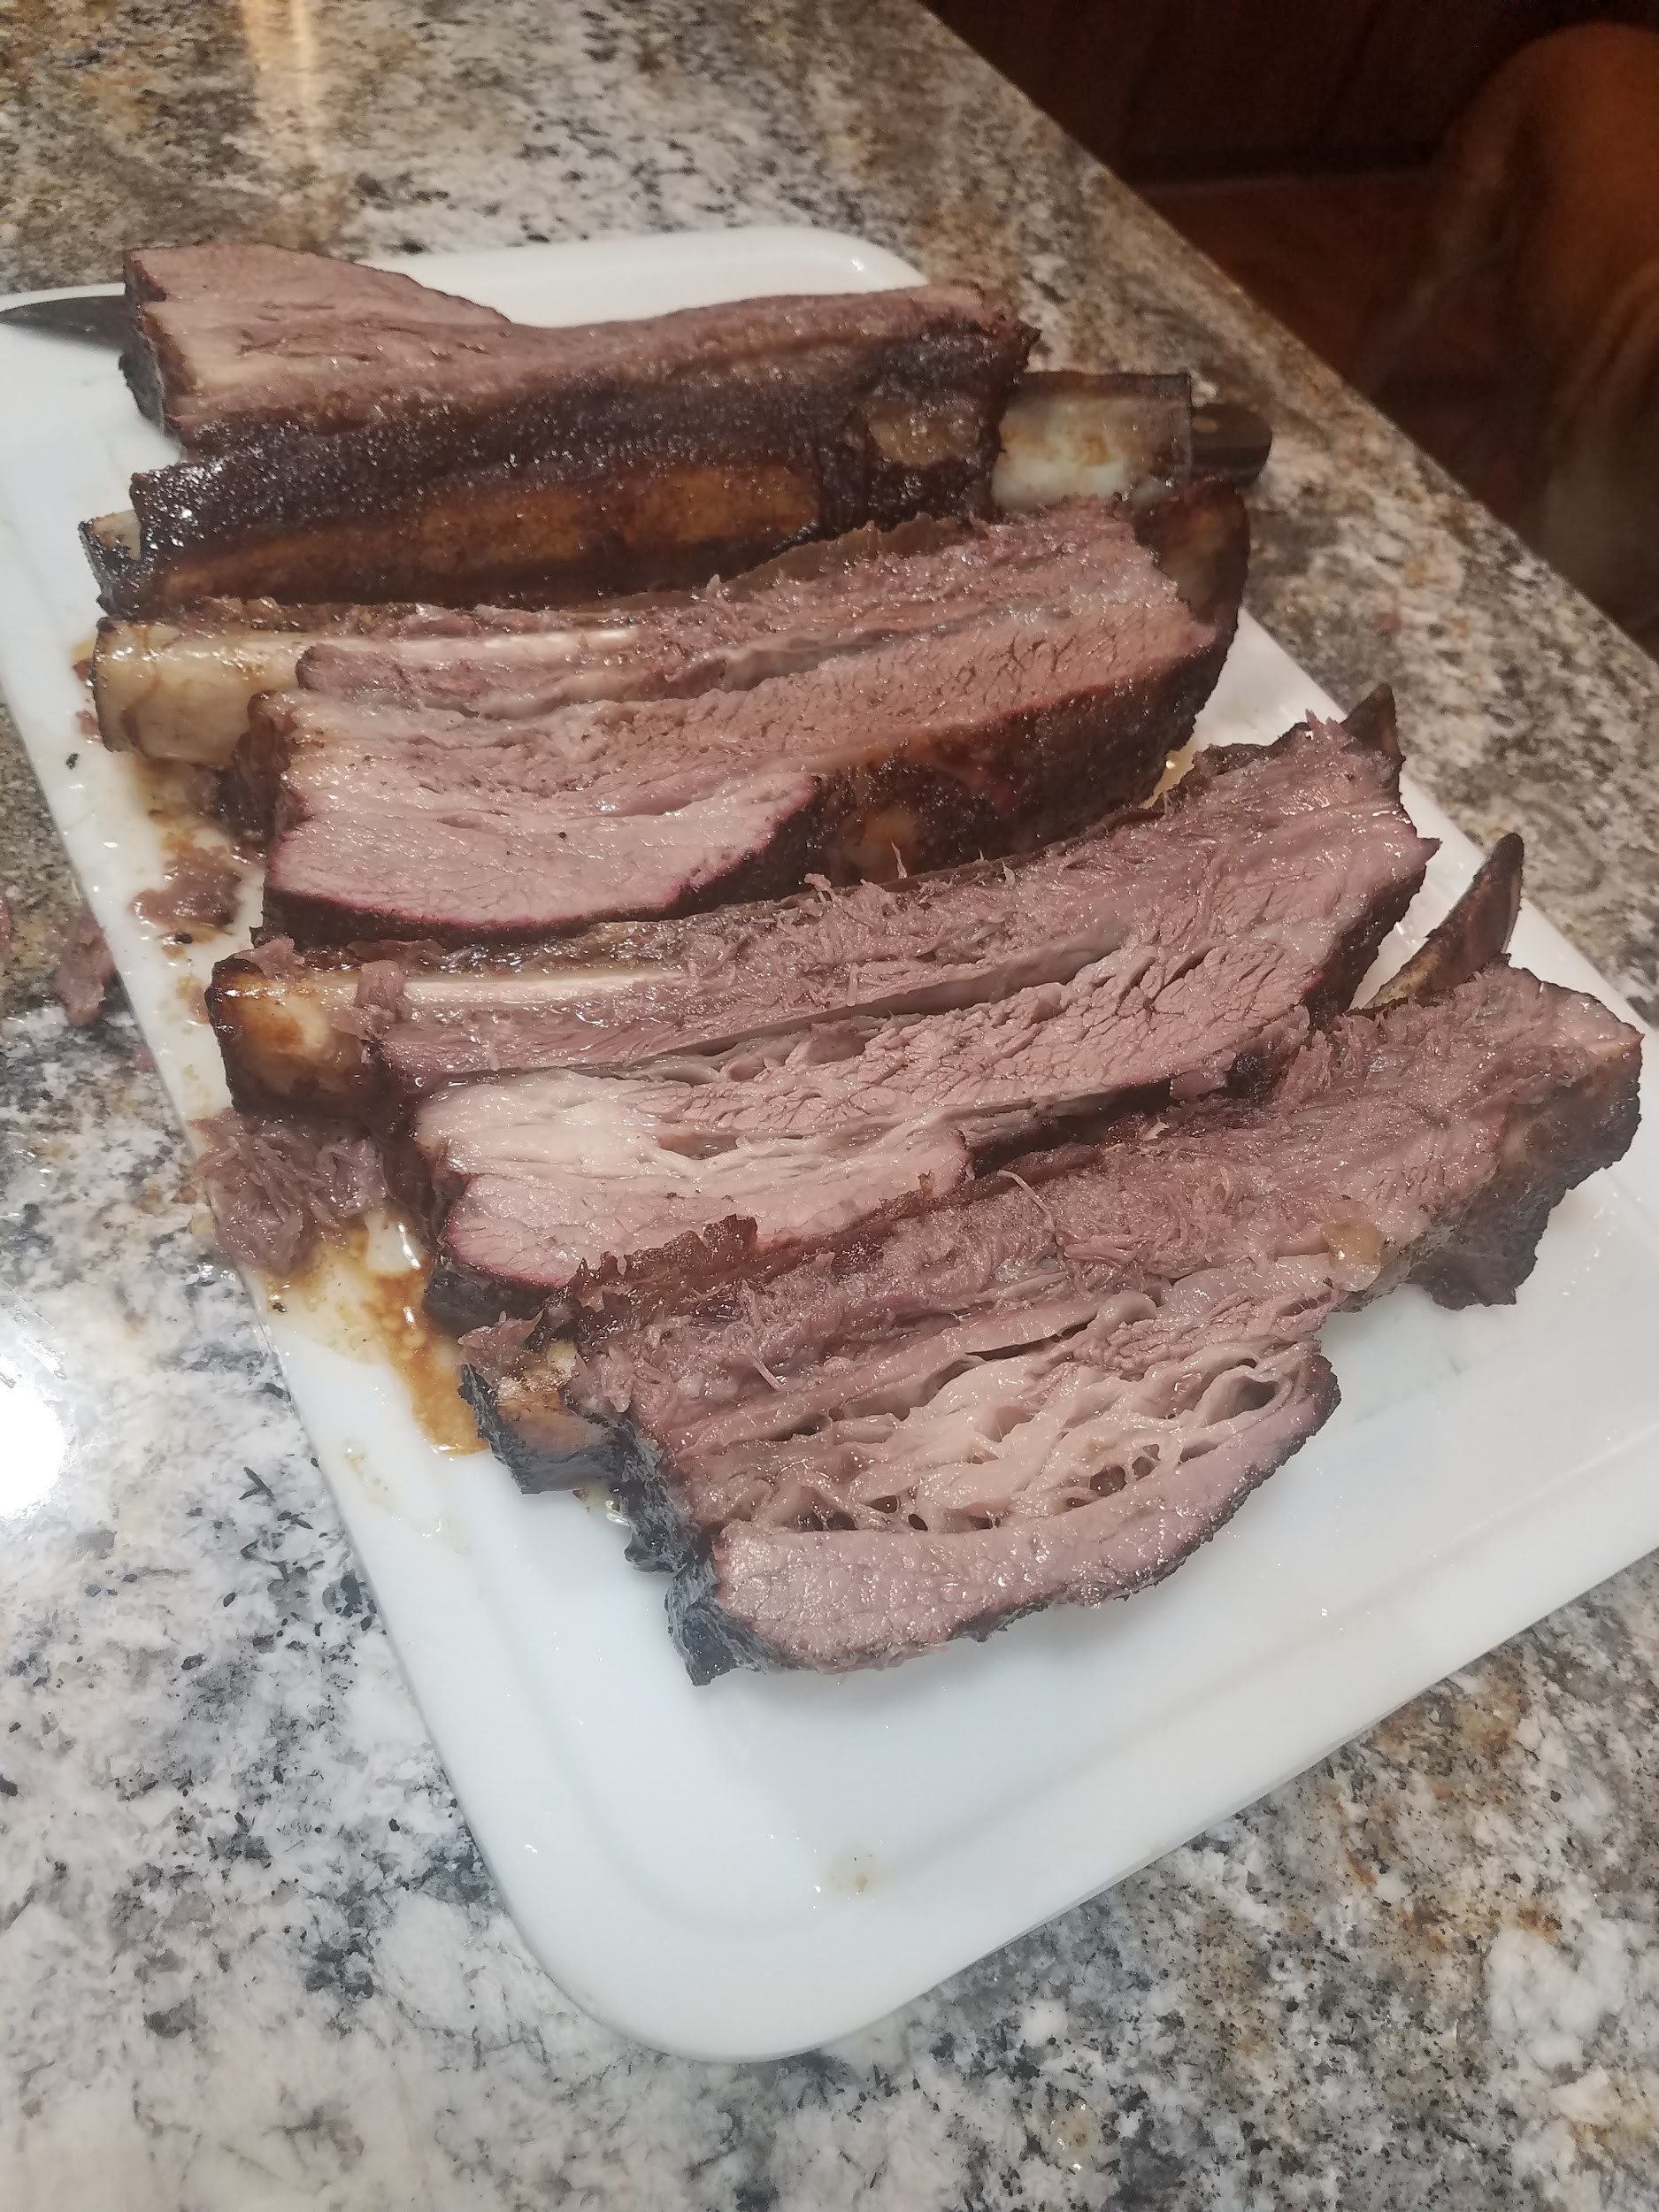
Then I placed them on the serving platter so we can compare them and get ready to eat.

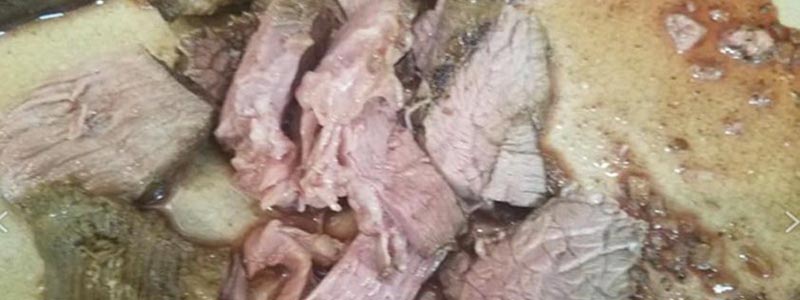
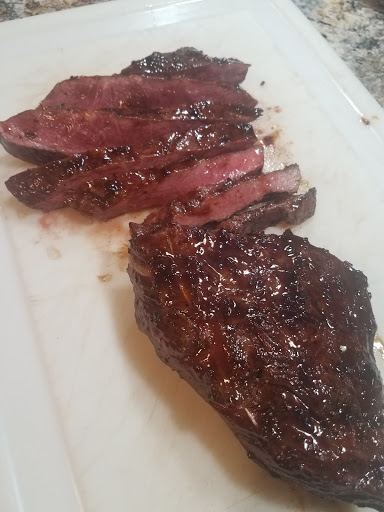
The slow roasted is on the left and the sous vide is on the right. The sous vide cooked prime rib did not have quite as nice of a crust as the slow roasted but if it was only in comparison, alone it looked beautiful. The texture and tastes were almost identical but with a slight hint of smoke flavor. As the pictures show the amount of medium rare goodness was very similar between the two methods.

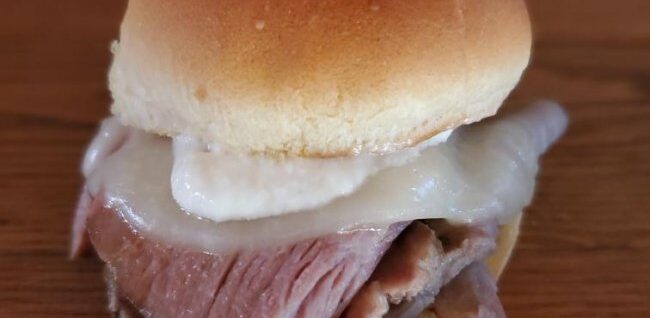
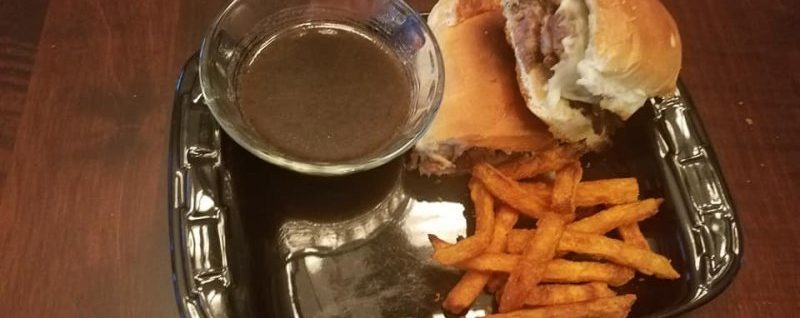
They were served with au jus and horseradish sauce but that’s another recipe.

Blade Sandwiches w/French dip

Authored by Doug Baker

Winter is a great time for hot sandwiches. We took one of our blade roasts and made french dip sandwiches.

Slices of Rump Roast

Thaw the roast and sear all sides to a nice golden brown. Place the roast in your crock pot and add:
1/3 cup soy sauce
1-1.5 cup Coke the real stuff, not diet
1 10.5 oz. cans beef consommé
1/4 cup dry minced onions
1 teaspoon garlic powder
1/2 teaspoon onion powder
1/2 teaspoon dried oregano
1/2 teaspoon salt
1/4 teaspoon pepper
1/4 teaspoon dried thyme
1 bay leaf
Enough beef stock to cover the roast if needed.

Tasty Sandwich

Hanging Tender via IRON SKILLET

Authored by Doug Baker

We have many recipes that use a grill or smoker but we understand that not everyone has a grill or enjoys grilling as much as I do. I wanted to show that you can still get an amazing meal from our beef without using anything fancier than an oven, stovetop and a thermometer.

I started with one of our hanger steaks aka hanging tender. This is a very flavorful and tender muscle that hangs down from the diaphragm and does not do much work which is why it is so tender. You may not find it in your local grocery store butcher counter but then again you won’t find Twin Oak Farms beef products at many butcher counters either. Bringing high quality beef products along with unique products is something we love to do. But enough with the talk, lets get down to cooking.

I thawed out the hanging tender and then I trimmed off the fat.

I did not separate the two muscles which leads to there being a line of connective tissue in the meat but it was tender enough my children had no problems with it.

I then seasoned both sides of the meat with a steak seasoning. While I was doing this, I was preheating the oven to 250 degrees. I put a little oil in the bottom of a cold cast iron skillet and put the meat down in it and put the whole thing into the oven.

Hanger into oven

I kept it in the oven at 250 degrees and checked it regularly to see when the inside came up to a temperature of 120 degrees. It took just under an hour.

I then pulled the cast iron and steak out of the oven and removed it from the pan.

Hanger removed from skillet.

I poured all the hot grease out and placed the cast iron skillet on the stovetop on medium high heat to get hot. I then slathered the steak with mayonnaise (more on that in a minute) and placed it in the hot pan to sear.

Applying Mayonnaise

I knew the pan was hot when the bits that were left in there after I poured out the grease started popping and it almost started to smoke. I let a good sear occur and then flipped it to sear the other side.

I then removed it from the skillet and placed it on a cutting board and checked the temperature.

It was 137 internal which is in the range of medium rare that I prefer and recommend for most people to enjoy our steaks at. We then sliced it and served it and it didn’t last long.

A word about the mayonnaise sear. Many people are familiar with using different oils and fats such as canola, grapeseed, butter, ghee, etc. for searing. You may also be familiar with using an egg wash to aid browning on baking such as breads and pies. Mayonnaise is a mixture of egg and oil with a few other ingredients. It helped lead to that amazing crust and browned surface you saw on the pictures. It also did not leave any recognizable mayonnaise flavors in or on the meat that my family noted.

Sous vide Sandwiches

Authored by Doug Baker

So you have a sous vide immersion circulator but not sure how to get more use out of it?


? One thing that you can use sous vide cooking methods for is to take a traditionally tough cut of meat and make it more tender as you can cook it longer to allow connective tissue to break down more than it would in other methods.


I used two rump roasts here for sandwiches for a party.


Rump Roast

A rump roast has minimal fat and is susceptible to drying out easily if you overcook it.


I heated up the water bath to 133 degrees and placed the roast in.

 I let it cook for 48 hours in the water bath.  I then removed them, and used my meat slicer to make thin slices of the roasts. 

)  I then placed the slices into a crockpot and poured over it a flavorful beef flavored broth.


Crockpot of Juices


) Our recipe for au jus or the blade sandwiches are great options. Then we placed them on bread with some provolone and any other accoutrements you enjoy (I like a horseradish sauce personally).


Tasty Sandwich

Ummmmmmm GOOD !

Cheesesteak Pasta Bake

Here was a quick, easy and filling version of a cheesesteak.

Authored by Doug Baker


Start out with a quart of beef stock in a pot large enough to boil pasta in, and bring it to a boil.


Once the stock is at a boil add the pasta, I chose shell macaroni, and cook to al dente.


While that was happening I sliced up a green pepper, 2-3 cloves of garlic, and a sweet onion.

I used a large skillet as the rest of the cooking all occurred in this skillet and began to saute the peppers, onions and garlic in a little bit of vegetable oil.


Once the vegetables started showing some color and the onions began to get translucent I added a pound of ground burger.


Once the burger is cooked, add a package of cream cheese and mix. 

Then add the cooked pasta and all the left over stock in the pot along with a few handfuls to a full package of mozzarella cheese.

 Then place a few slices of provolone cheese on top of the pasta, meat, vegetable mixture and place under the broiler to melt the cheese and get some color.


Then serve up and enjoy. 

Blade Sandwiches w/French dip

Winter is a great time for hot sandwiches. We took one of our blade roasts and made french dip sandwiches.

Thaw the roast and sear all sides to a nice golden brown.

Place the roast in your crock pot and add:

Crockpot Roasting

1/3 cup soy sauce
1-1.5 cup Coke the real stuff, not diet
1 10.5 oz. cans beef consommé
1/4 cup dry minced onions
1 teaspoon garlic powder
1/2 teaspoon onion powder
1/2 teaspoon dried oregano
1/2 teaspoon salt
1/4 teaspoon pepper
1/4 teaspoon dried thyme
1 bay leaf
Enough beef stock to cover the roast if needed.


Meat after slicing.

Cook for 3-4 hours on low. 

Remove and slice across the grain into thin slices. Place the slices back into the crock pot on low for another 1-3 hours.

After simmmering

Place on hoagie buns or similar, cover with provolone cheese.

Sandwich ready for cheese

Melt the cheese over the broiler in your oven. Strain any solids and fat from the remaining juices in the crock pot. Serve with the stained juices as au jus.

Sandwich Ready

Any leftover au jus is a great addition to a french onion soup base for a meal later in the week.

Flat Iron Steak

The flat iron is a tender, well marbled and flavorful cut of meat that is great for the grill. We started out by thawing the steak. Our packages come in at around 2 lbs and most will contain two steaks. We then looked at it and it was already nicely trimmed. Next seasoned it with the basic beef seasoning that we use in many of our beef recipes. It consists of kosher salt (we find it easier to evenly sprinkle kosher salt compared to other types), pepper, garlic salt and seasoning salt. We seasoned it the same as we would any other steak of this thickness, not excessively but noticeable on the outside. We then let the flat iron sit at room temperature while we fired up the grill.

Two raw seasoned flat iron steaks.

We set up a two zone grill set up. One zone was high direct heat and the other was a lower indirect heat.

We placed the flat iron steaks on the pre-heated high direct heat section of the grill and rotated it, and flipped it creating a nicely seared exterior in a matter of a few minutes.  Once we were happy with the exterior of the steaks we moved them to the indirect heat section of the grill. This allowed the steak to continue to cook and come up to temperature without fear of excessive charring or burning of the outside.

Steaks starting to cook. Steaks cooked on one side.

 As meat is cooked, the muscle fibers contract which pushes moisture out of the cut. The additional contraction of the muscle fibers, along with the additional moisture loss is why the more well done you cook your meat generally the tougher and drier it will be compared to the same cut of meat cooked to a lower temperature. We generally cook our steaks in the medium rare temperature range as that is what we prefer, but cook it to your preferred doneness. We monitored the internal temperature of the flat iron steaks until it was approximately 10 degrees from our finishing temperature, for medium rare this was 120-125 degrees. At this point we brushed a sweet kentucky bourbon glaze on it every few minutes until it reached an internal temperature of 130 degrees. We then removed it from the grill and allowed it to rest for 10-15 minutes. During this time, the piece of meat’s internal temperature will continue to rise 5-10 degrees which is called carry over.  Then, when you cut into the meat it remains juicier and is the temperature you wanted to serve it at. We sliced it against the grain for maximum tenderness and our kids were able to cut the slices with a fork.

Enjoy!

Cooked steaks covered in glaze. Glazed steaks sliced against the grain for maximum tenderness.

“Dino” Beef ribs

“Dino” ribs have become a bit of a craze recently and we decided to get in on the fun and see what everyone was making a fuss over.  They did not disappoint! Delicious and impressive!

This is the cut of meat to prepare when you want the flavors of smoked beef brisket and the WOW factor of huge bones with large portions of juicy meat hanging from them.  

We started out by thawing out the ribs in the fridge. Think ahead because this will take a bit of time (1-2 days in the fridge). Then we removed them from the package and took a moment to take in exactly how large they were. Most of our packages have been cut into 5- 9lb. sections.

 We knew they would be big but wow, dwarfing a normal sized can of pop. We first prepared our smoker for an indirect smoke at 300 degrees, and used hickory wood to smoke. Other woods such as mesquite would also be appropriate. The cooking time is variable and will be influenced by the smoker temperature, choose a temperature you are comfortable with and have the time to accommodate. This cut of meat needs to be cooked to “doneness” (time and temp can vary) You will know it is done when you get a meat probe “feel” that is described later. 

While the smoker was coming up to and stabilizing at 300 degrees we trimmed any exposed fat down to ⅛ to ¼ of an inch or less. We were careful not to remove any meat from the ribs knowing most of the remaining fat would render off during the cooking process.

For our next step we seasoned the ribs with a basic beef seasoning that can be used with success on most beef dishes.  Kosher Salt, pepper, garlic salt and seasoning salt. Season it fairly heavy as this is the only seasoning this thick piece of meat will get and be sure to cover all the sides.

 The ribs were then placed bone side down on the grill grates. We monitored the grill temperature and the meat temperature in the thickest parts between the ribs by inserting an instant read meat thermometer once every hour or for large cuts of meat like this one we like to use a probe that can remain in the beef and be monitored remotely.

Ribs being slow-grilled.

After 4.5 hours the ribs were reading around 200 degrees in temperature. At that time we placed an instant read meat thermometer probe in different parts making sure the temperature was consistent AND checking the meat for the “done” feel. The probe should meet some resistance on the outer crust of the meat but then slide through like a knife through room temperature butter, or close to it. That lets you know the meat is done and the connective tissues have broken down giving the most tender end result.

We then wrapped the beef ribs in some aluminum foil for a 45 minute rest. Even though you can tell the meat has shrunk down and now there are bones exposed, it is still quite large.

After resting in the aluminum foil we sliced them between the bones. They were juicy, glistening with moisture and each bone section fed around 2 people. We started with a 4 bone 9 lb beef ribs and we fed 8 (5 adults and 3 kids) people that night along with french fries, baked beans and coleslaw.

It was delicious!!!

Instant Pot Short Ribs

If you have an instant pot you can create this quick and easy short rib meal that will provide an excellent comfort dish in a fraction of the time.

Four large pieces of ribs.

Ingredients:

  • Short ribs
  • Dark brown sugar
  • Worcestershire sauce
  • Soy Sauce
  • Salt
  • Pepper
  • Seasoning salt
  • Canola oil

We started by thawing the short ribs, and removing them from the packaging. They rarely need any trimming. Next, we seasoned them with salt and pepper on all sides generously. Then we set the instant pot to “saute” and put some oil (vegetable, canola, grapeseed, or other high temp oil) in the bottom of the pan to heat up. While it was heating we got the rest of the ingredients together.

We do a lot of shopping at Kroger as you can tell from the photo but it is also to show that you don’t always need fancy things to make good tasty food; any variation/brand of these items will work

Brown sugar, Cola, seasoned salt and other flavorings.

Once the instant pot and oil was hot we began browning all sides of the short ribs. Please be careful, splashes are possible and can cause painful burns. The searing aids in the flavor depth of the finished product but can be omitted if you are short on time. Once you get some good color on all sides it is time to turn the heat off and prepare for braising.

Braising differs from stewing in the fact that a braising liquid does not completely cover the ingredients. They are sitting in liquid, not swimming in it. For this reason the amount of Coca Cola can be varied as long as you have liquid covering ¼-½ up the sides of the short ribs. Pour in the Coca Cola. Then add ½ a cup of dark brown sugar and ¼-⅓ of a cup of Worcestershire and Soy sauce. Finally, we added around a 1-1 ½ Teaspons of seasoning salt. Once all this was added, the lid was placed on the instant pot, and it was programmed for 30 minutes at high pressure.

After 30 minutes of high pressure, the pressure was released and the meat was removed from the instant pot. We then used the “saute” feature to cook down the remaining juices into a sauce, and it took about 10 minutes. While that was happening we sliced the meat off the short ribs into pieces small enough for my children to handle.

We served it over mashed potatoes with steamed baby carrots. Our kids had no complaints and it was a nice comfort food meal for a rainy day that was prepared in about an hour.

Short ribs on mashed potatoes with carrot on the side.

Variations on this recipe using a dutch oven, a crock pot, a traditional pressure cooker or even normal pans on the stove are possible. Times and temperatures would be different. You need to ensure a long cooking time to break down the connective tissues and fat in the short ribs to get the tender, juicy, and succulent meal you see here. The instant pot provides this when you don’t have the 3-5+ hours to spare.